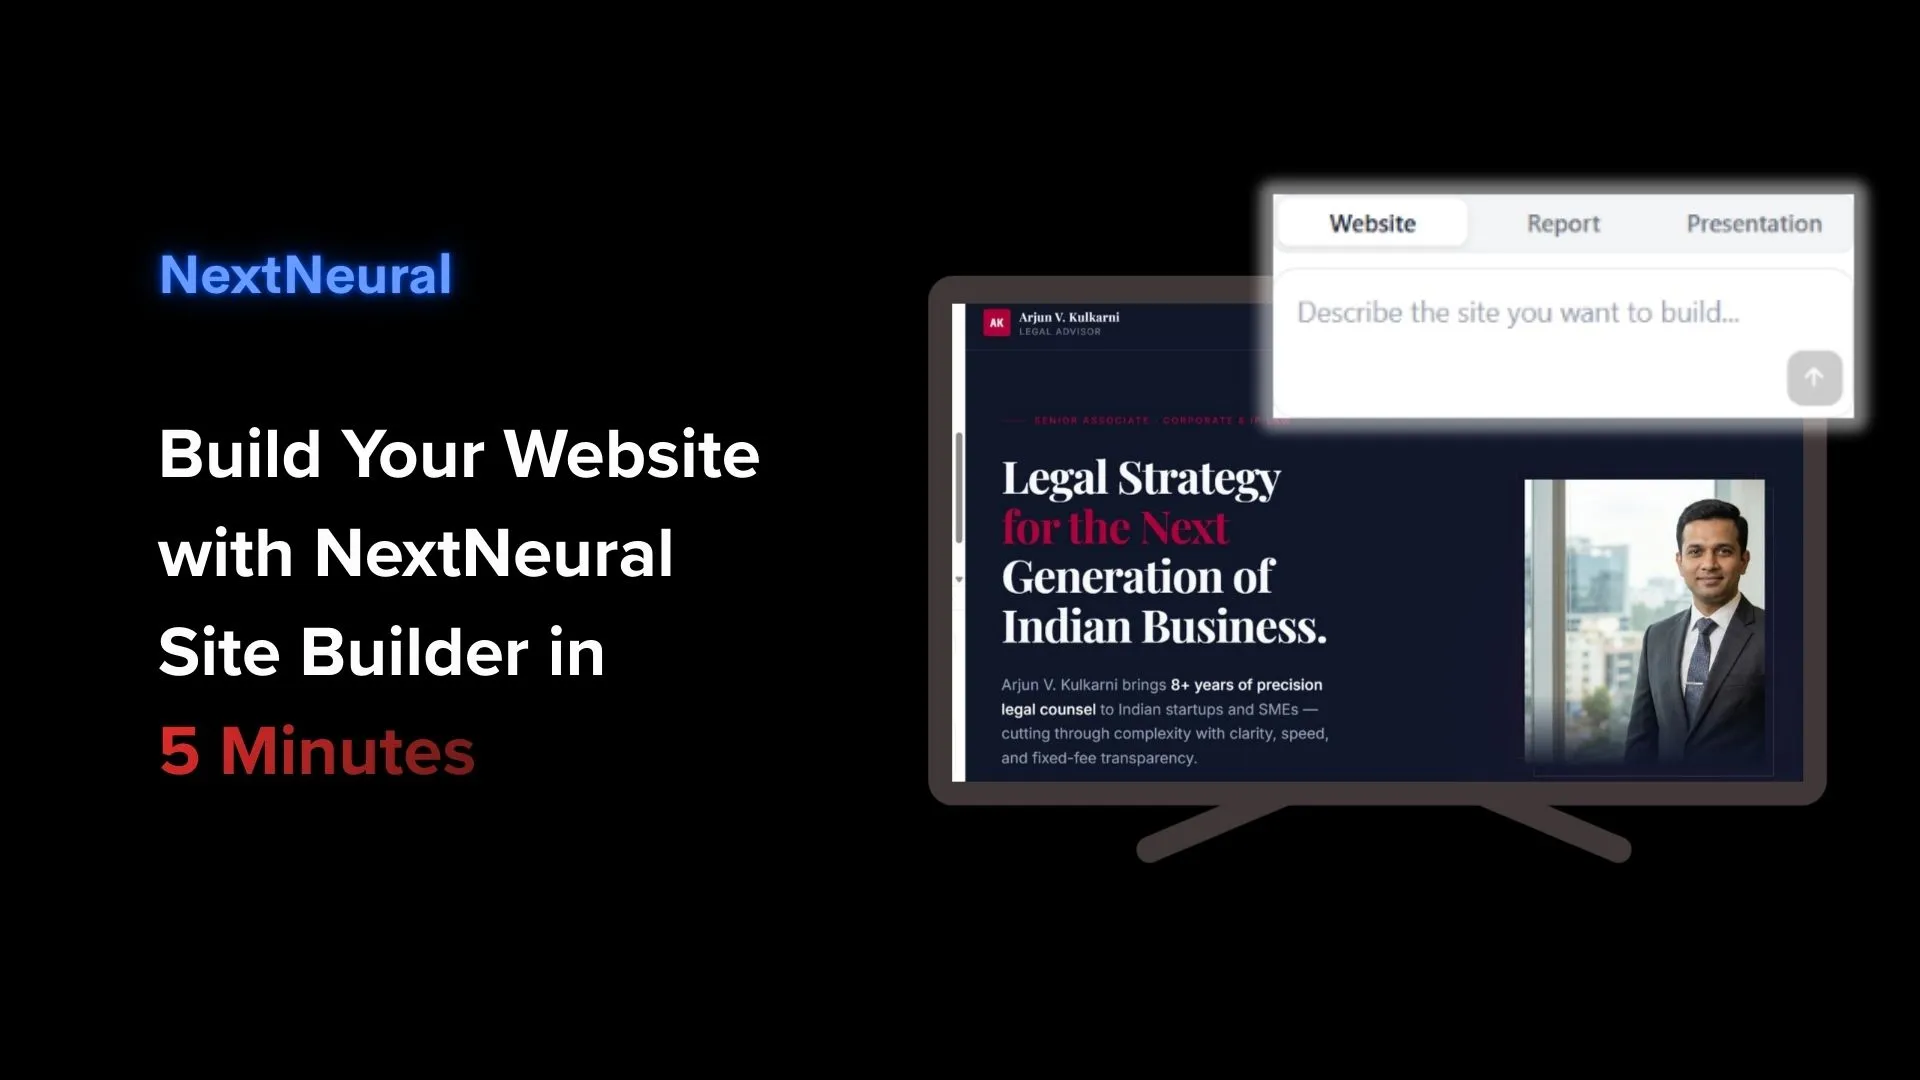
How to Build Your Website with NextNeural Site Builder in 5 Minutes
For most small and mid-sized businesses, having a professional website shouldn’t be so hard. Yet the reality for many SMEs is a familiar cycle: quotes from agencies feel disproportionate to the work involved, website builders can handle basic pages fine but fall apart the moment you need something that actually reflects your business, and AI tools can generate fluent but unreliable content you can’t confidently put your name on.
The result is that a lot of capable, established businesses end up with either no web presence or one that’s chronically out of date.
NextNeural’s site builder was built to solve exactly this. In this post, we’re going to walk you through the process from start to finish, using a professional in a law services firm as our example, so you can see precisely what’s involved before you decide whether it’s right for you.
What You’ll Need
Before you open the builder, the only thing you need is a document that describes you or your business. A company profile, a services overview, a professional bio, a capabilities deck, anything that captures who you are and what you do. If you have something reasonably current saved as a PDF or text file, that’s enough to get started.
This is worth emphasising upfront: the website NextNeural builds comes from your content, not from generic templates or AI-generated filler. The quality of your source document directly shapes the quality of what gets built. A detailed, well-written description will produce a better first output than a rough paragraph. That said, even a working draft is sufficient to begin.
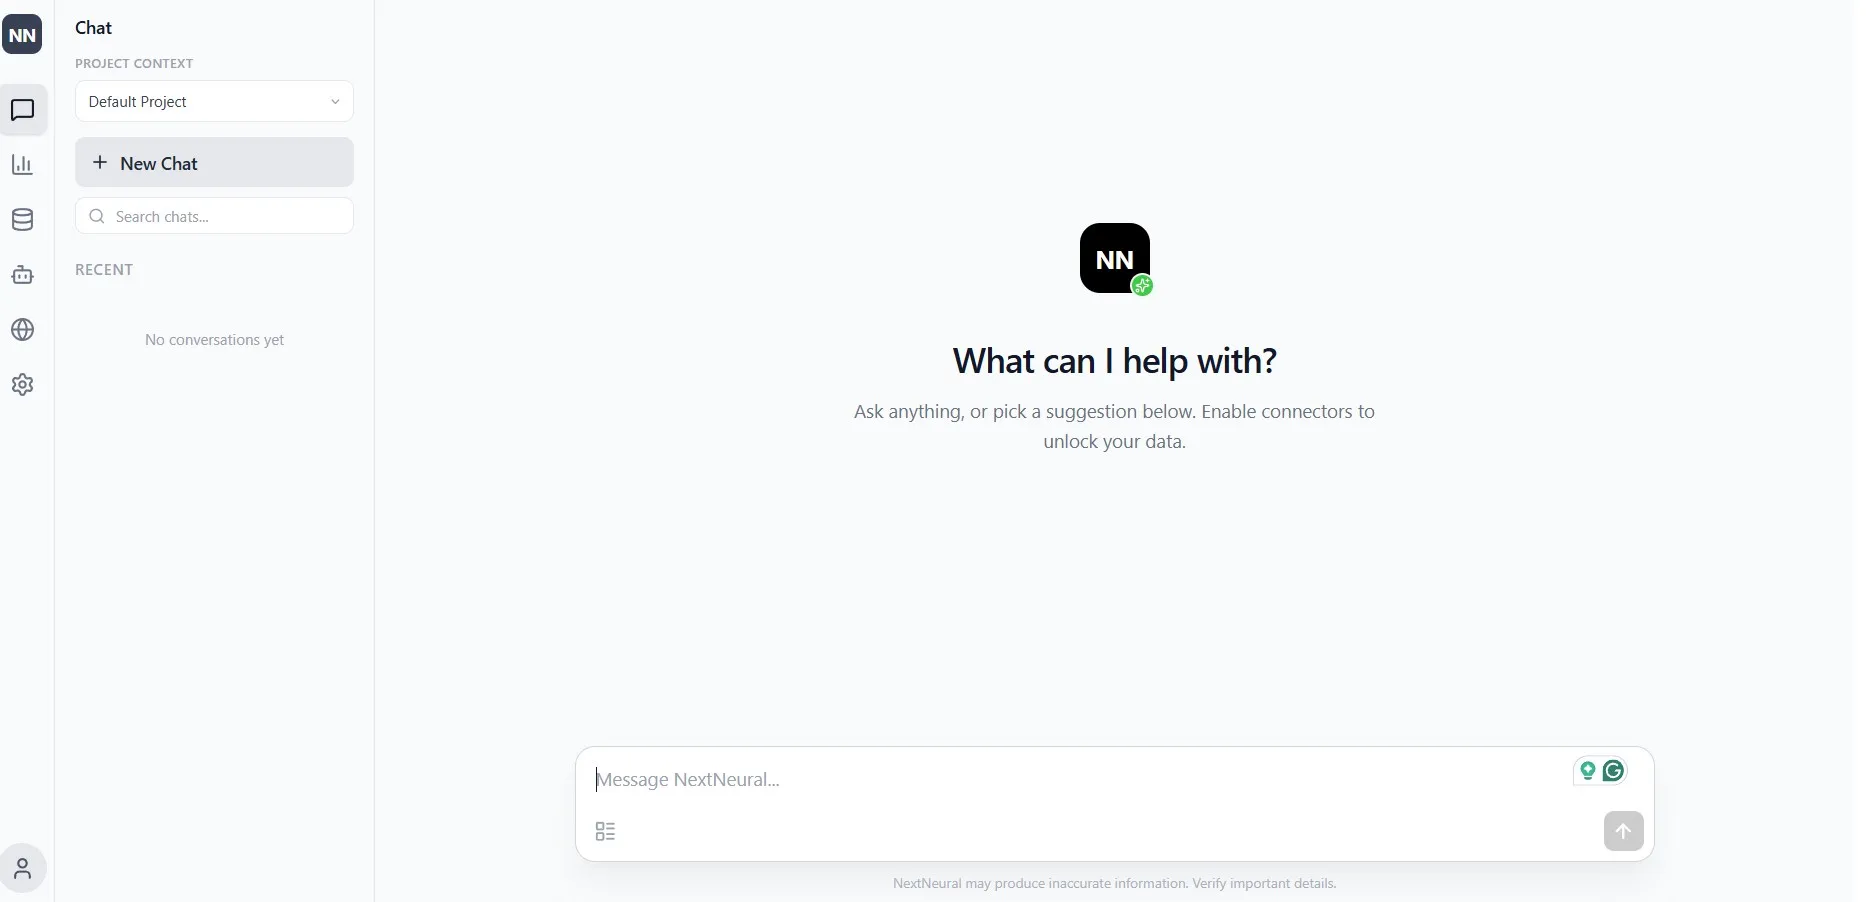
Step 1: Sign Up and Get Oriented
Head to cloud.nextneural.ai and create your account. The sign-up process is straightforward. Once you’re through onboarding, you’ll land on the platform dashboard where you can take a look around and get a feel for how everything is laid out.
Every new account comes with 2000 free credits. That’s enough to build your first site, explore your data, and get a genuine sense of what the platform can do before you commit to anything. Consider this your first play with no payment required.
Step 2: Create a Project
Open the Data Sources panel and click the + icon. Give your project a name that reflects what it’s for: your business name, a project title, whatever makes it easy to identify it later. Click Create.
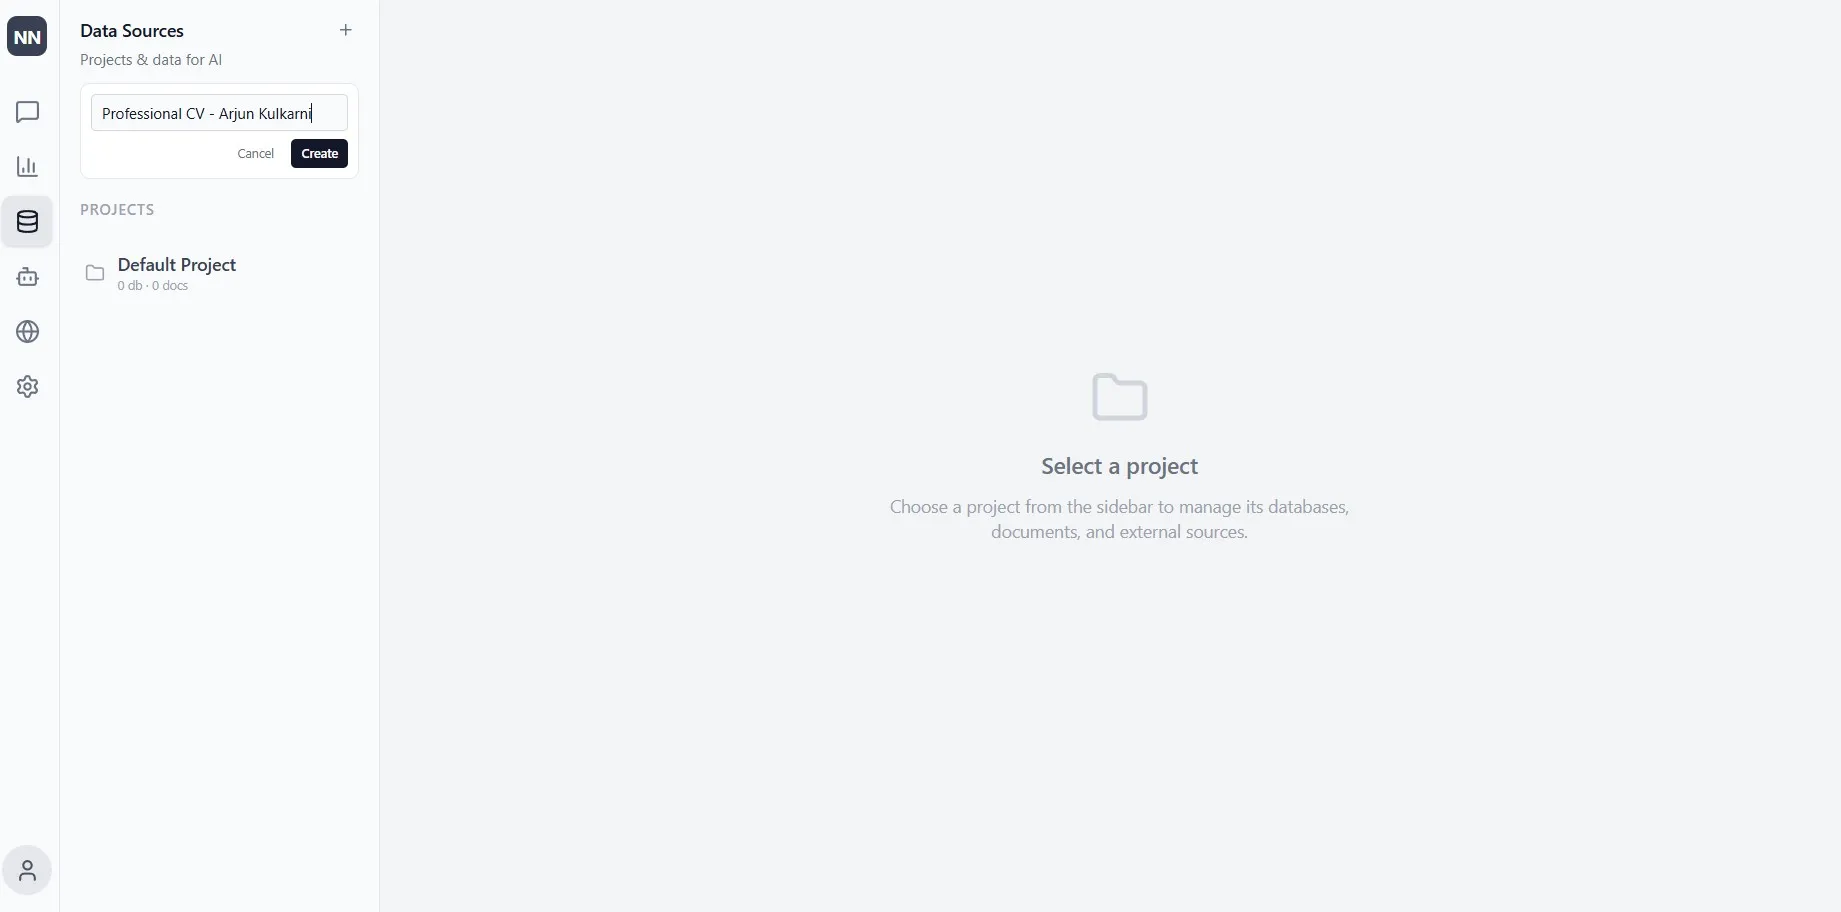
This project becomes the container that connects your content to your site. Everything the builder draws from will live here.
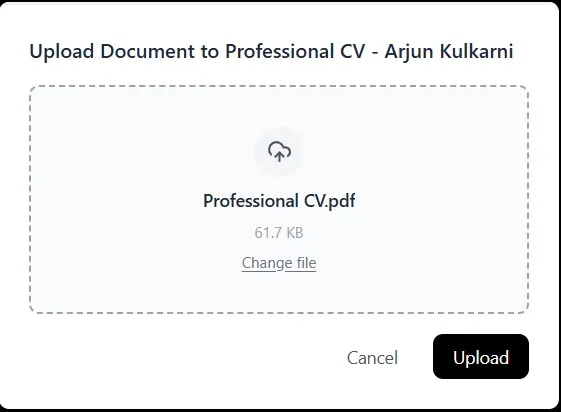
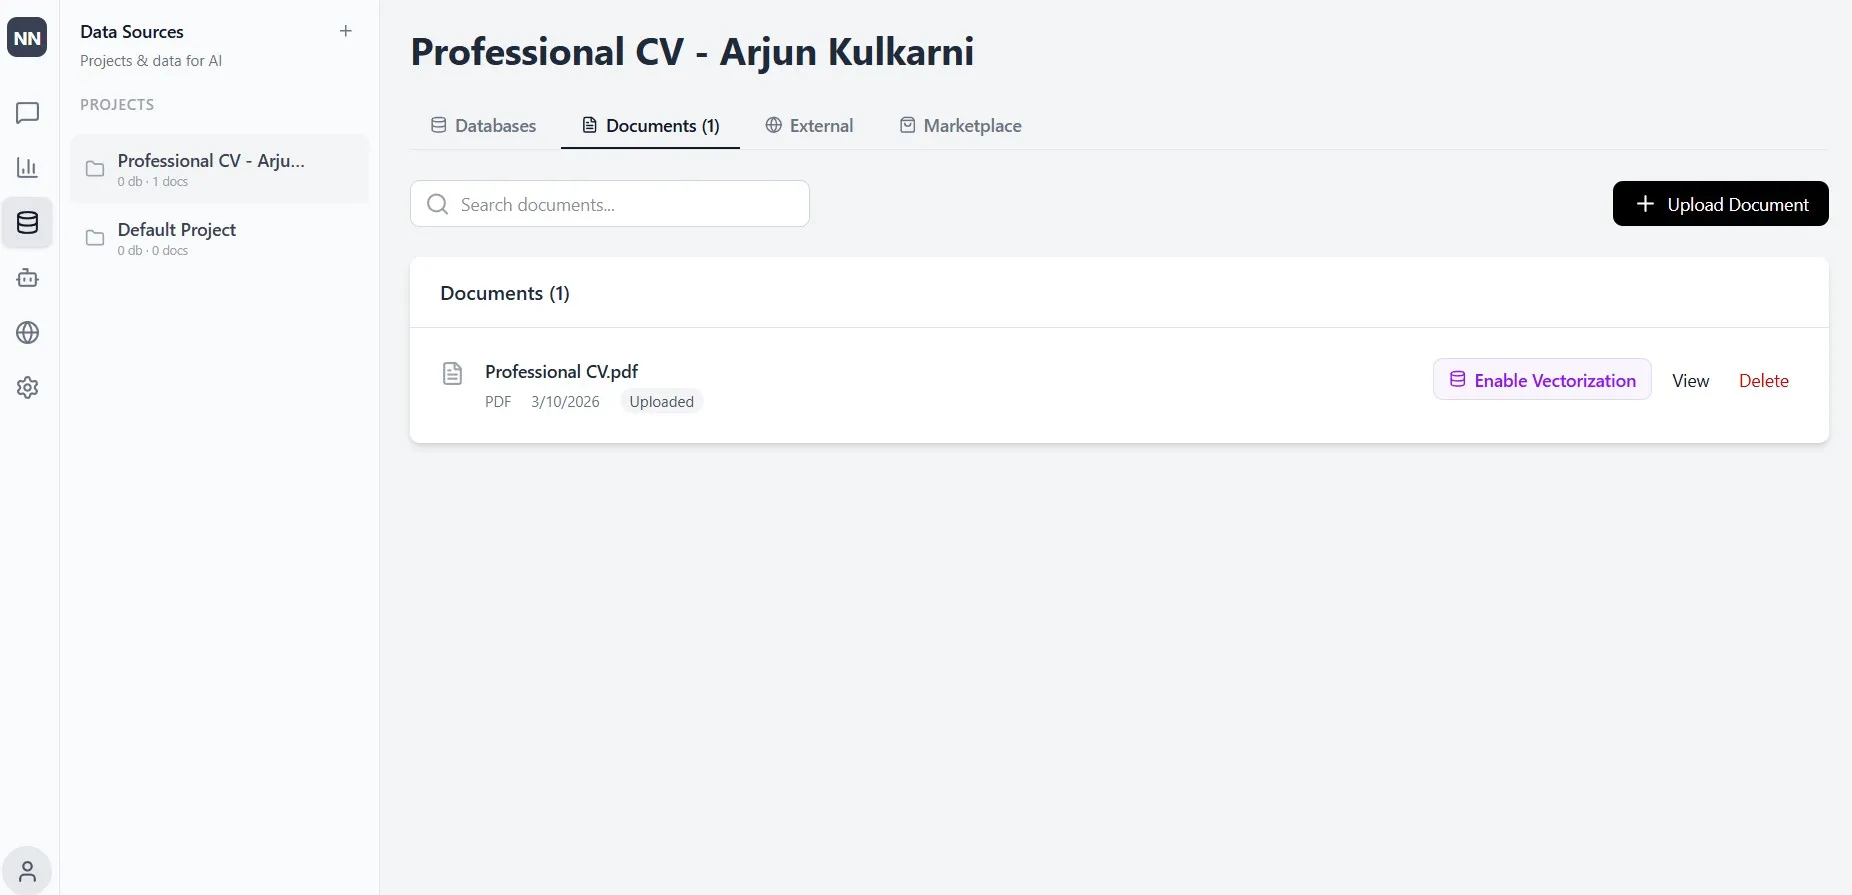
Step 3: Upload Your Document
Inside the project, navigate to the Documents tab and click Upload Document. Select the file from your computer (a PDF or any document file) and upload it.
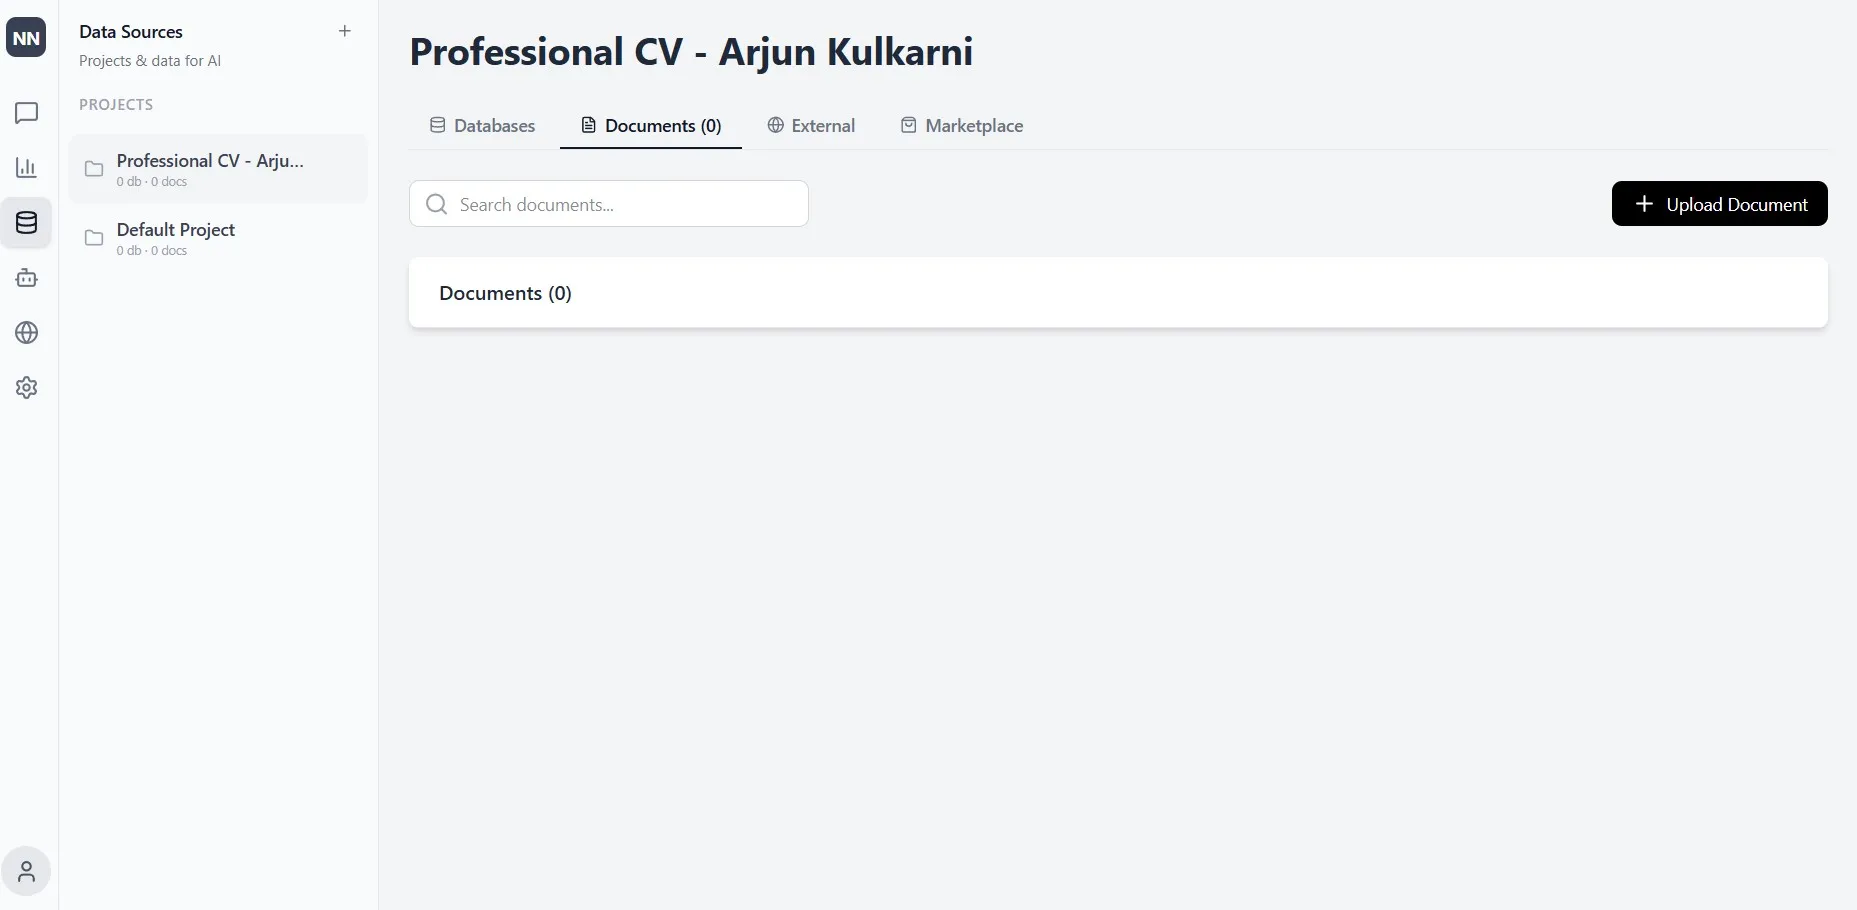
This is the foundational step. Rather than starting from a blank template and filling it with placeholder text, NextNeural reads your actual business documents and builds from them. Your services, your specialisations, your tone — these come from what you’ve already written, not from what an AI assumes about you or your industry.
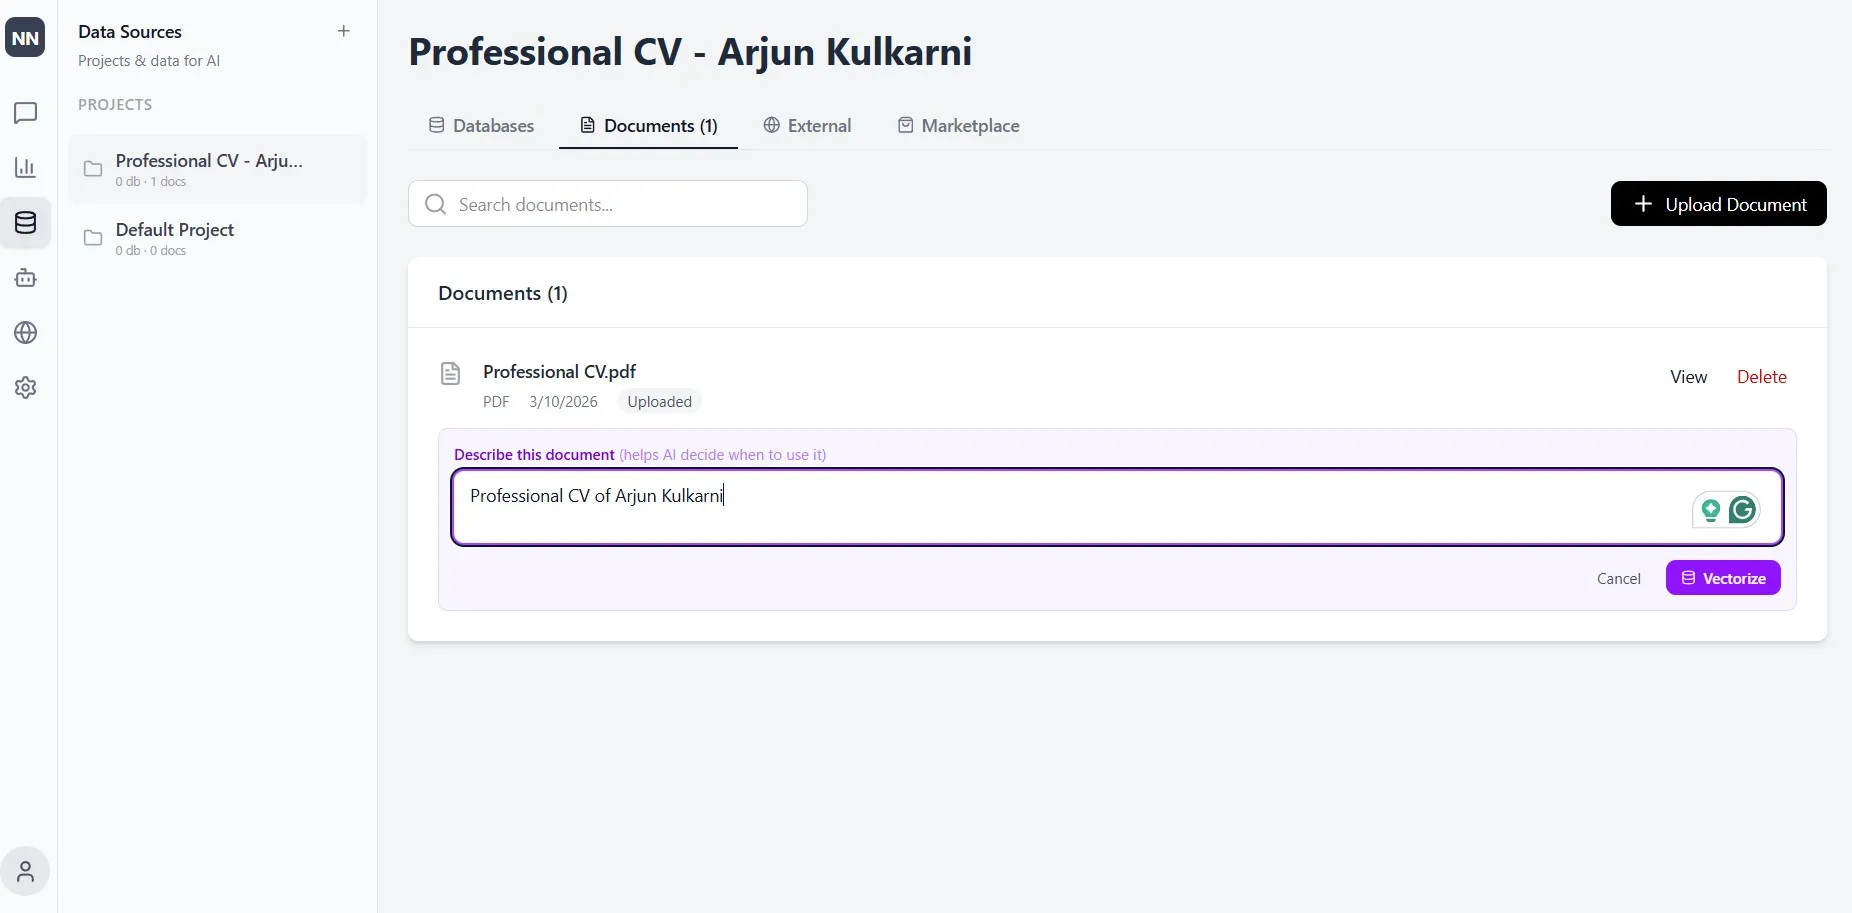
Step 4: Vectorize the Document
Once uploaded, you’ll see an Enable Vectorization button next to your file. Click it.
You’ll be prompted to add a short description of the document, something like “Company profile and service descriptions” or “Professional CV and specialisations.” This helps the AI understand the context of the content and when to draw from it. Then click Vectorize.
A “Vectorizing…” status will appear while the system processes the file. This typically takes under a minute.
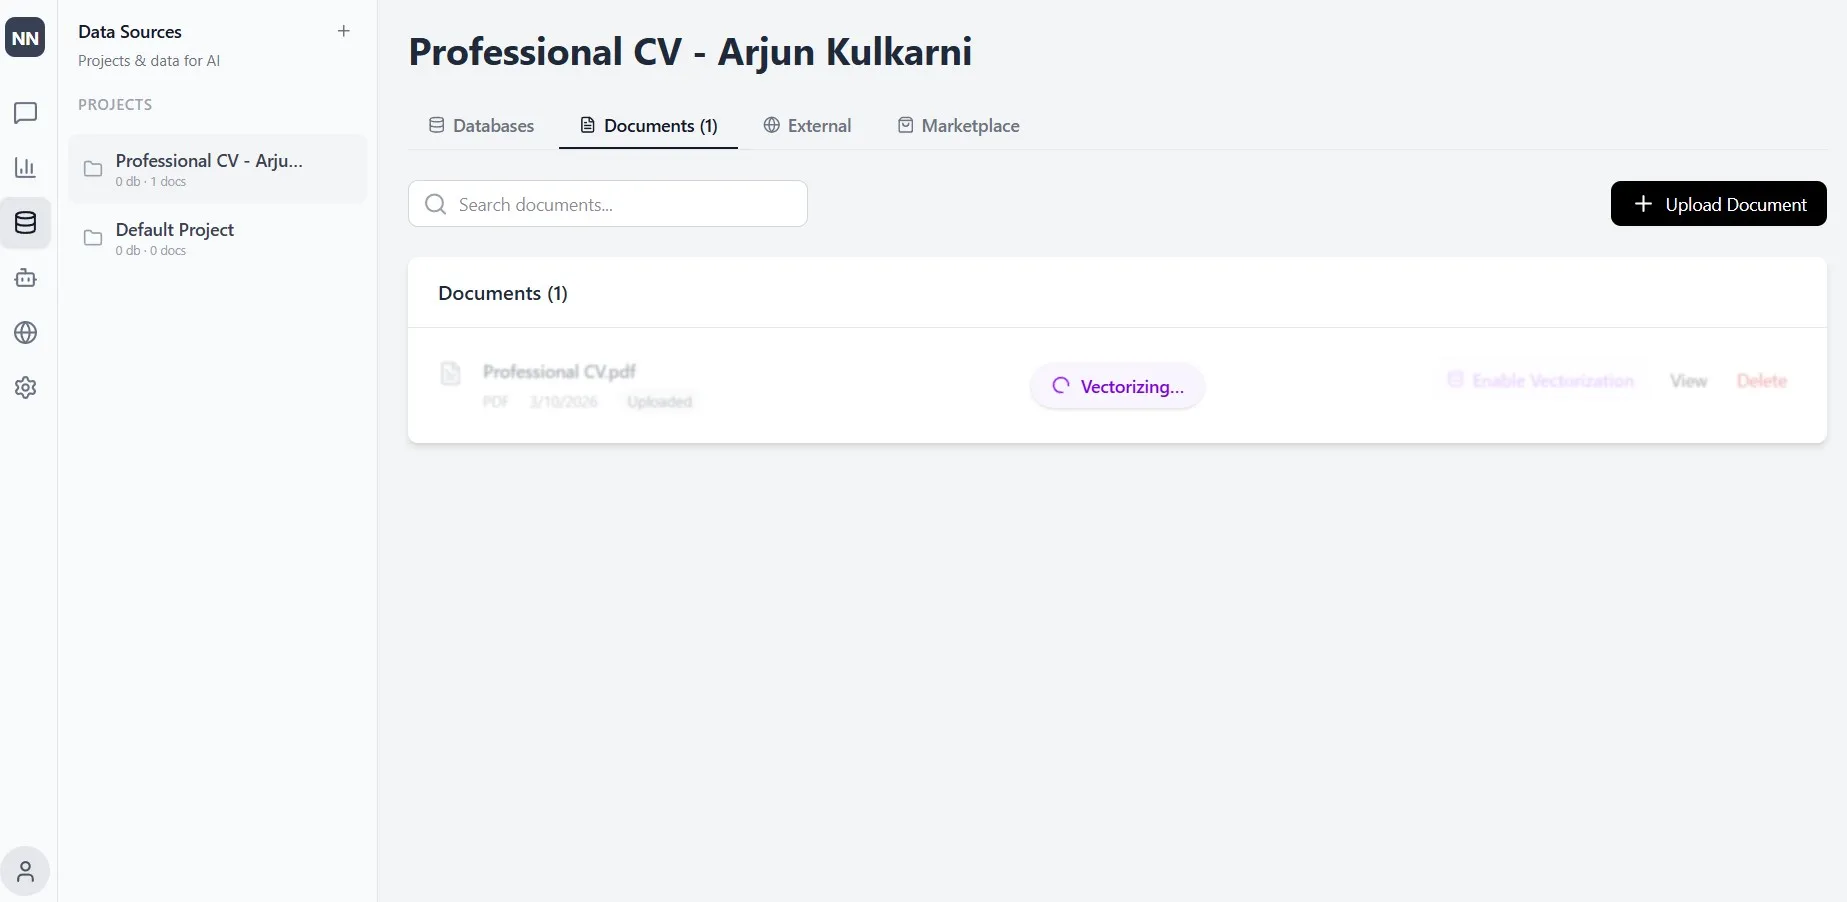
This step is what distinguishes NextNeural from a standard content generator. The vectorization process indexes your document so the AI retrieves from it accurately, meaning what appears on your site is traceable back to what you’ve actually written and verified. For businesses in professional services, compliance, legal, or financial sectors where accuracy is non-negotiable, this matters considerably.
Step 5: Open the Site Builder
Navigate to the Site Builder using the globe icon on the left sidebar. The interface has two sections: a prompt panel on the left where you configure your build, and a live build log on the right where you can watch the process in real time.
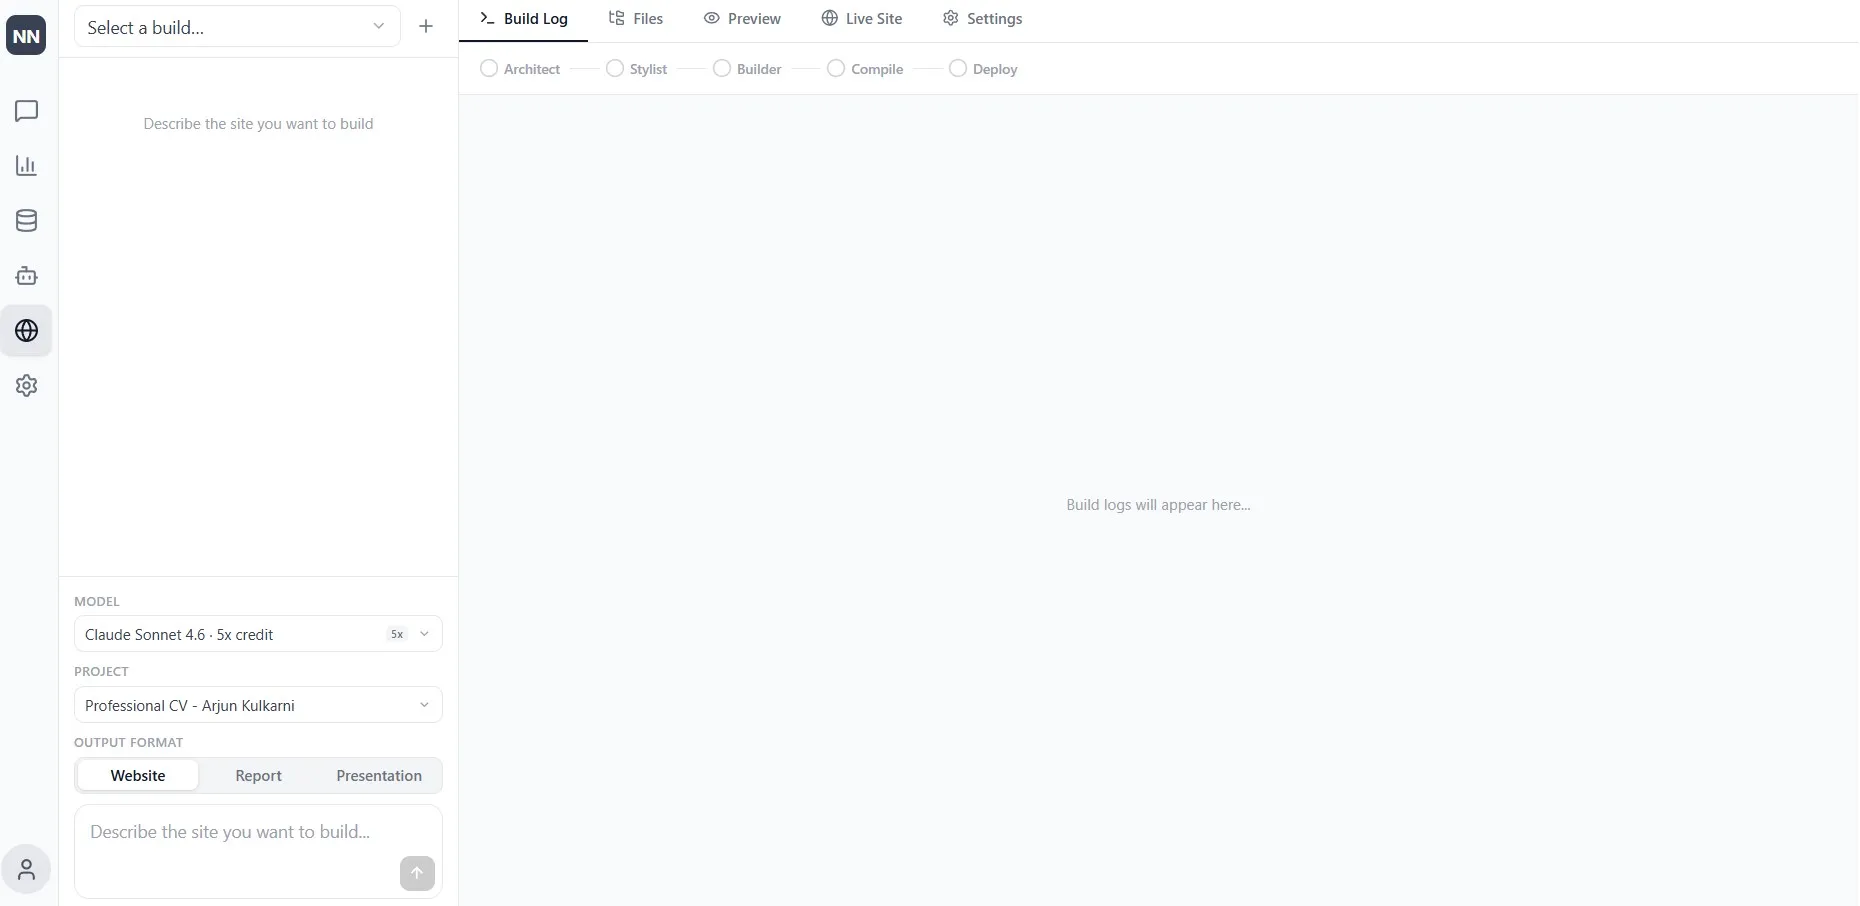
Before writing your prompt, there are three things to set in the lower section of the left panel.
- First, select your AI Model. This is worth a moment of consideration. NextNeural gives you a range of models to choose from, including Claude, GPT, and Grok, each consuming a different number of credits. The dropdown shows the credit cost alongside each model, so you can make an informed choice based on your needs. For a straightforward business or personal website built from a clear source document, a mid-range model will typically do the job well. If you’re building something more complex, such as multiple pages, nuanced tone requirements, or structured data, a more capable model may be worth the additional credits. The flexibility to choose means you’re not paying for more than the task requires.
- Second, select your Project, the one you just created with your uploaded document. This connects the builder to your content.
- Third, set your Output Format to Website. You’ll notice the builder also supports Report and Presentation outputs, but for our purposes here, Website is the selection.
These three choices together tell the system what it’s working with, what it’s producing, and how much horsepower to apply to the task.
Step 6: Describe the Site You Want
This is the primary input, and it requires no technical knowledge. Write a plain-language description of what you need — the pages, the structure, the tone, any specific details that must appear on the site.
A useful prompt covers a few things: what the business does and where it’s based, what pages you want and roughly what should be on each one, any specific contact details or calls to action, and the tone you want the site to carry. Here’s an example of what a professional who works in a law services firm might write:
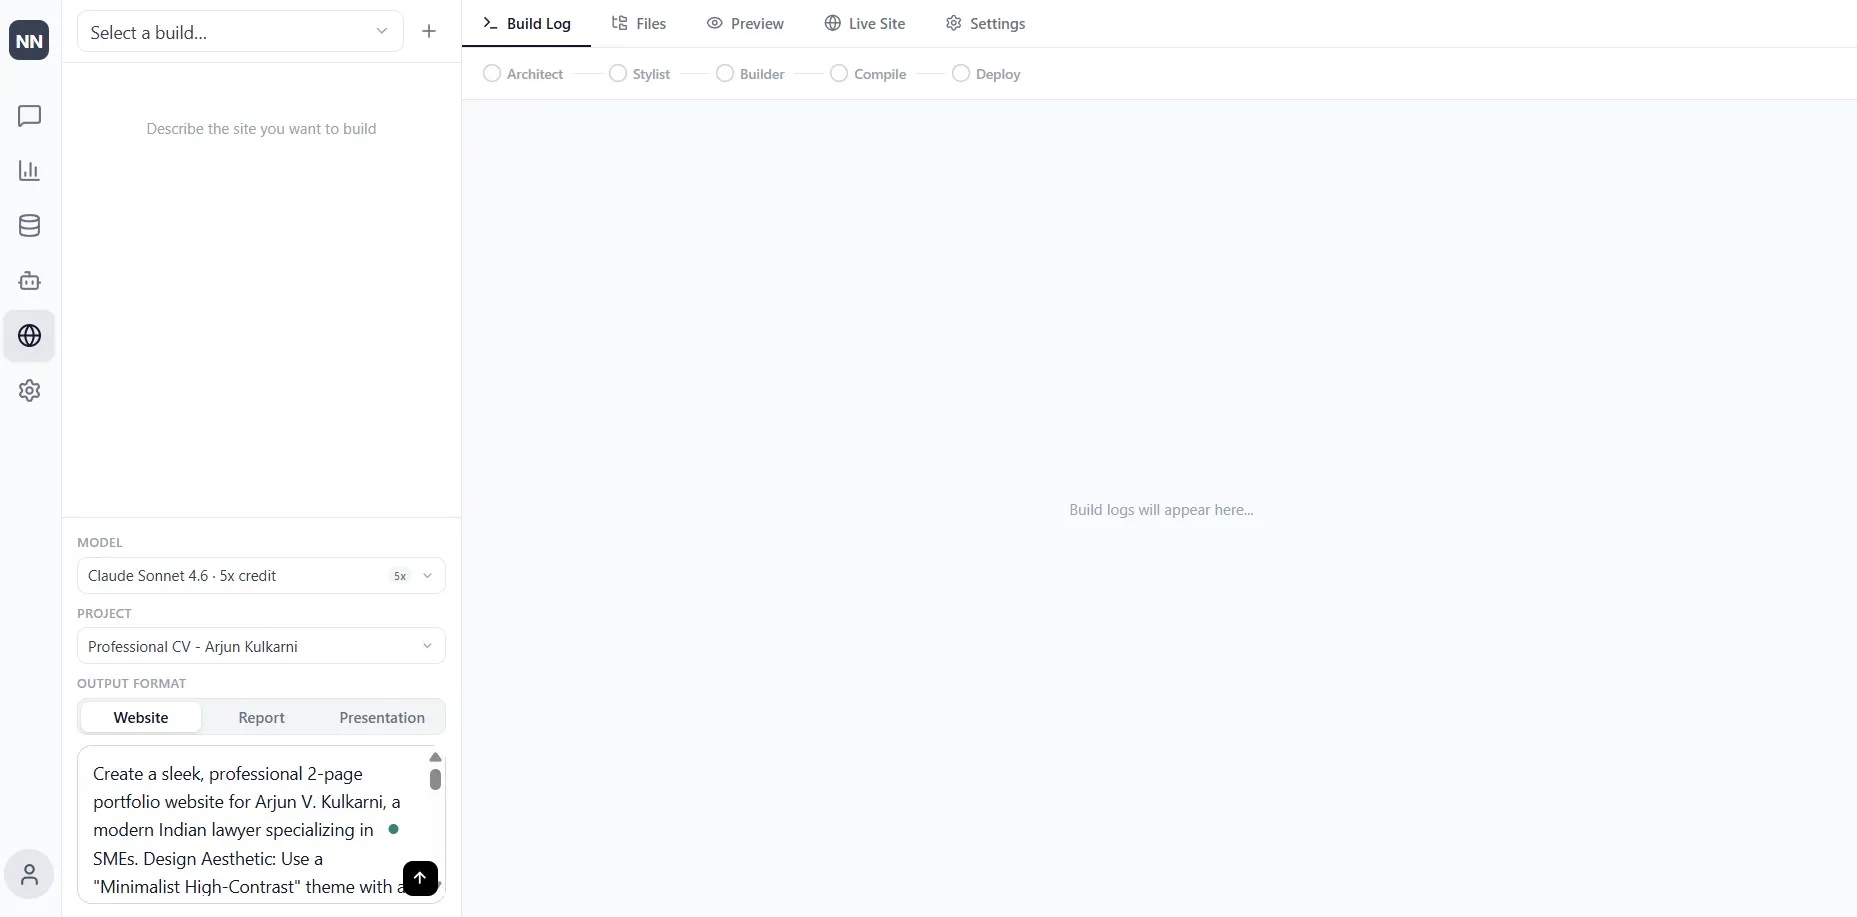
“Create a sleek, professional 2-page portfolio website for Arjun V. Kulkarni, a modern Indian lawyer specializing in SMEs.
Design Aesthetic: Use a “Minimalist High-Contrast” theme with a color palette of Obsidian Black (#0F172A), Crimson Red (#BE123C) accents, and Crisp White. Use high-quality serif typography for headings to convey authority, and clean sans-serif for body text.
Page 1 (The Professional Bio):
Hero Section: A high-impact headline: “Legal Strategy for the Next Generation of Indian Business.” Include a placeholder for a professional headshot.
About Section: Use the provided bio data to highlight his 8+ years of experience and his “Plain English” approach.
Experience Blocks: Create three distinct cards for his specialties: Corporate Contracts, IP Protection, and SME Compliance.
Trust Indicators: A section for “Key Achievements” using icons (e.g., a shield for IP, a gavel for compliance).Page 2 (Connect & Consult):
Header: “Protect Your Business Interests Today.”
Contact Form: A minimalist form with fields for Name, Company Name, Industry, and Message.
Direct Info: Display the Bengaluru office address, professional email, and a “Book a Discovery Call” button.
Footer: Include a legal disclaimer: “Consultation by Appointment Only.”Tone: Authoritative yet accessible. Focus on “Efficiency” and “Modern Solutions.”
The more specific the brief, the closer the first build will be to what you actually want. That said, nothing is locked in, so you can refine and iterate after the initial build without starting from scratch.
Step 7: Watch It Build
Click send and watch the Build Log.
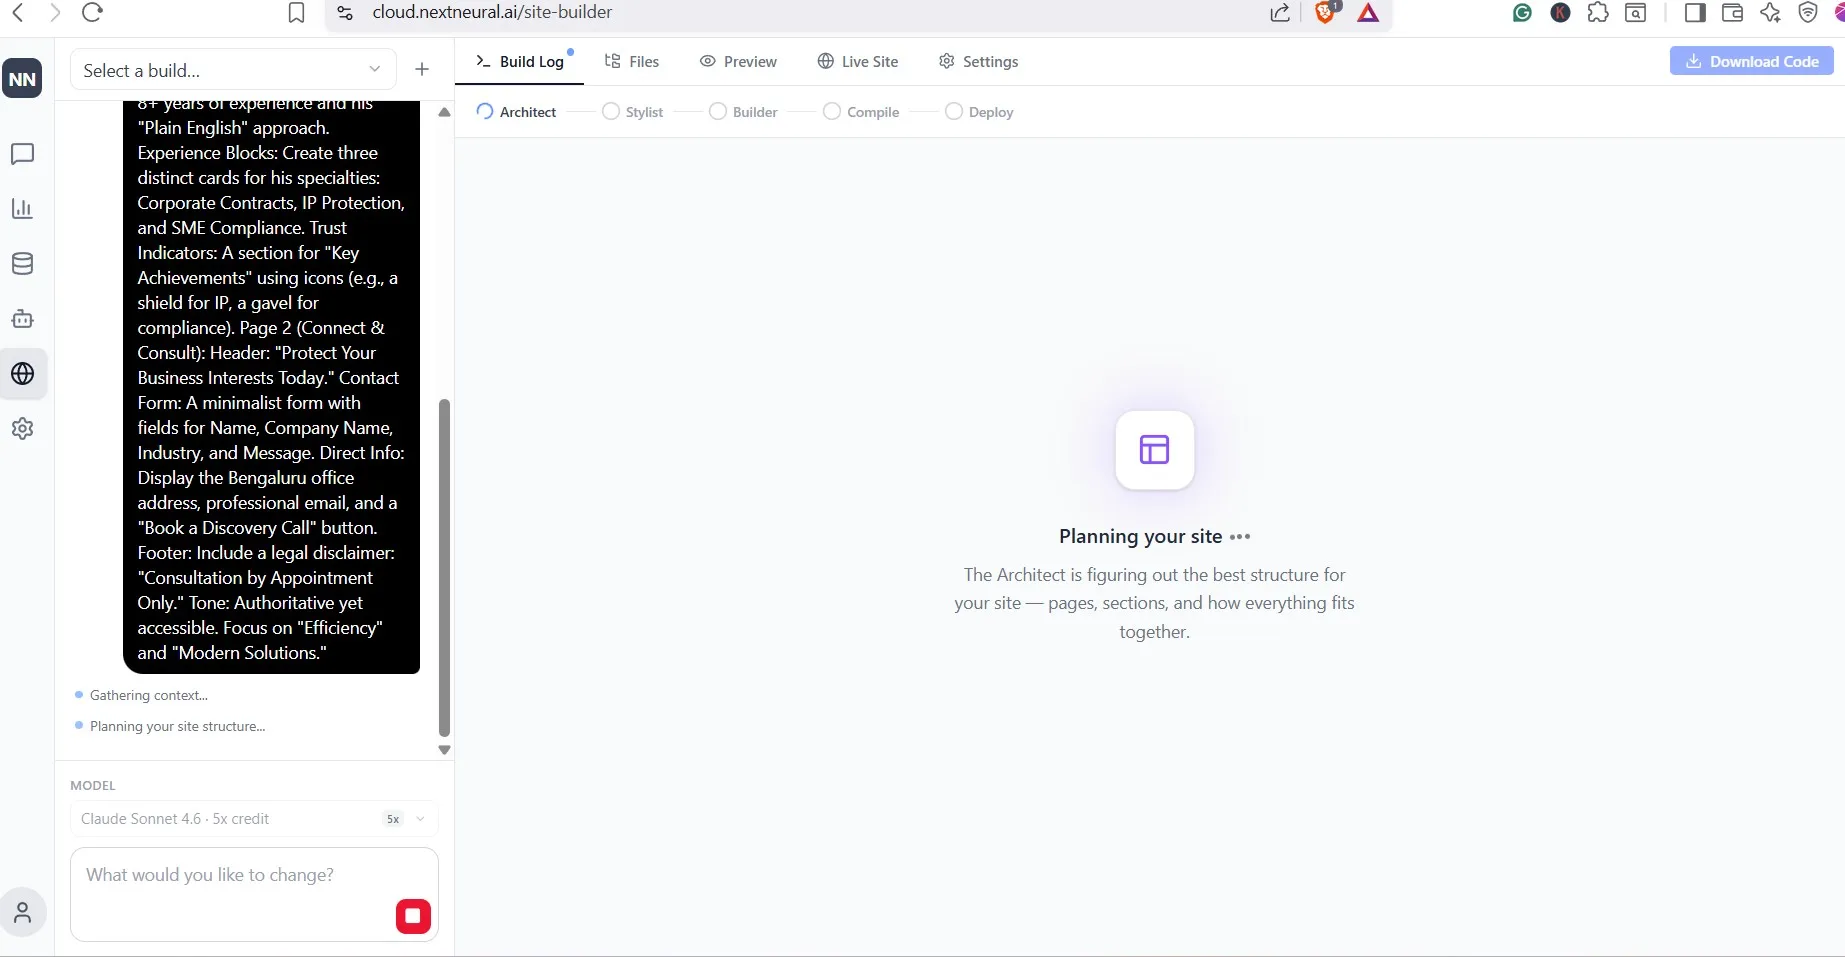
The system moves through five stages: Architect, Stylist, Builder, Compile, and Deploy, each visible in the progress bar at the top of the screen. You’ll see it planning your site structure, determining the number of pages and components, designing the visual theme, generating the files, and deploying the site. A typical build of 2-3 pages runs to around 13 components and completes in under 5 minutes.
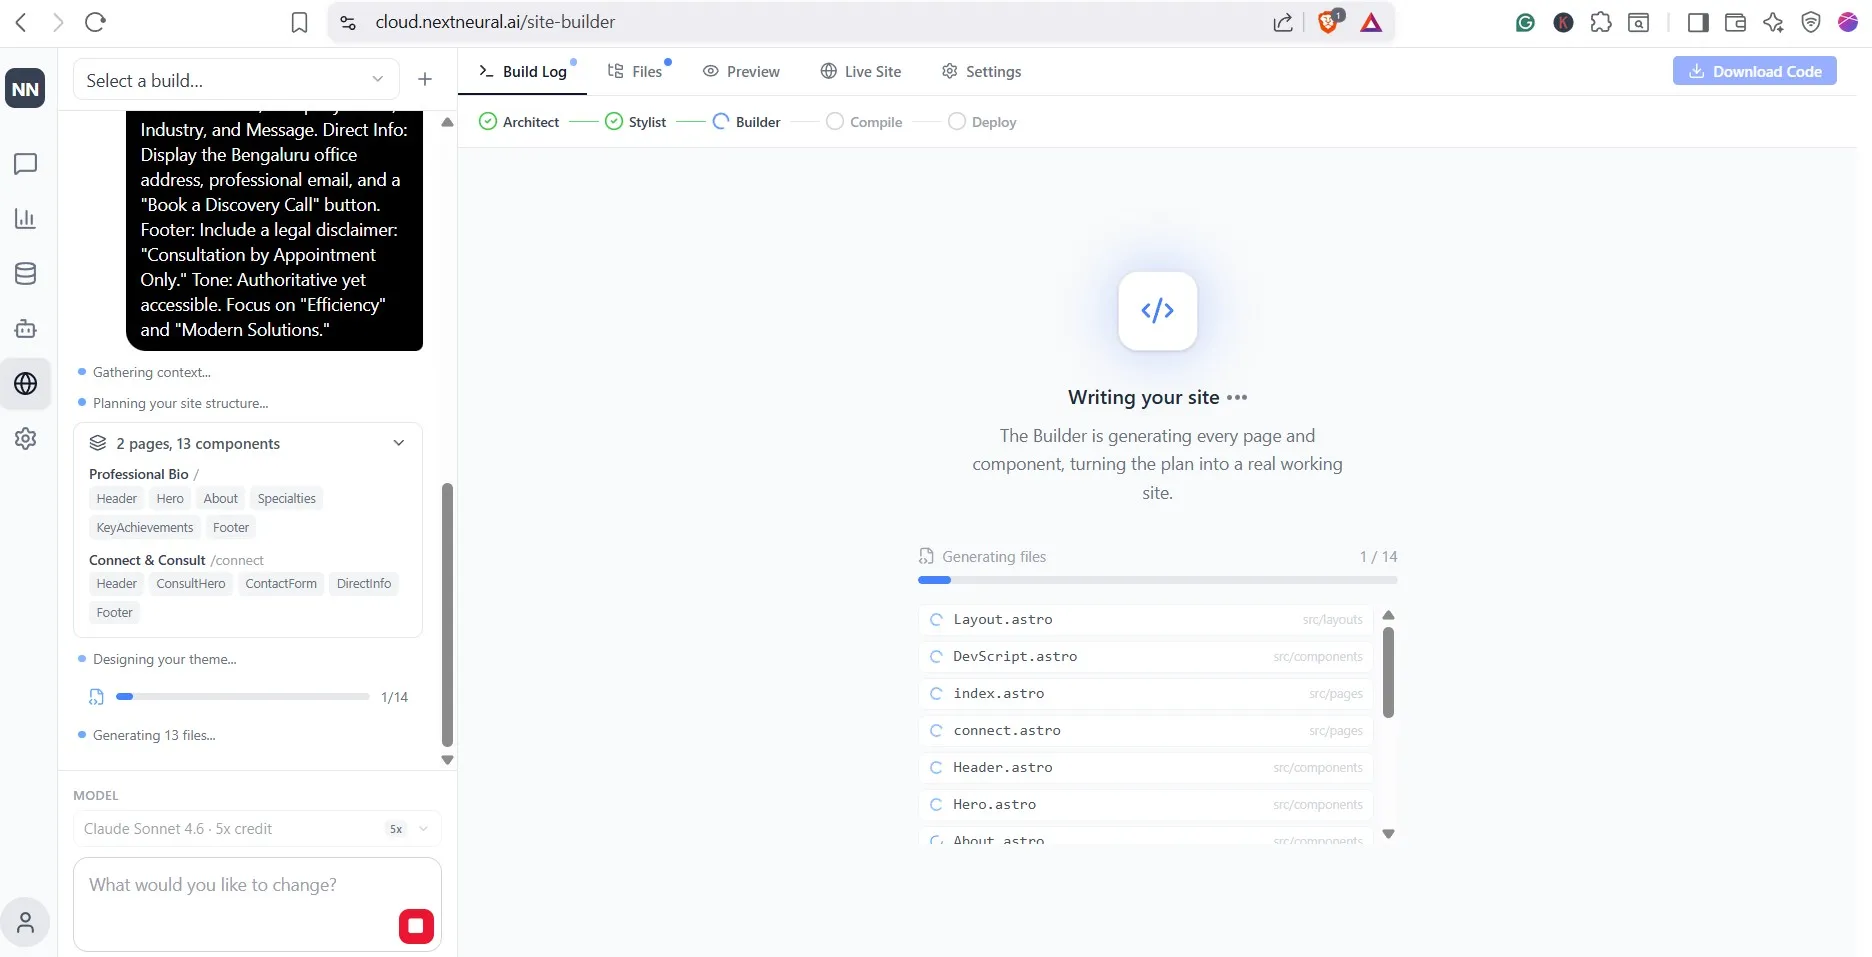
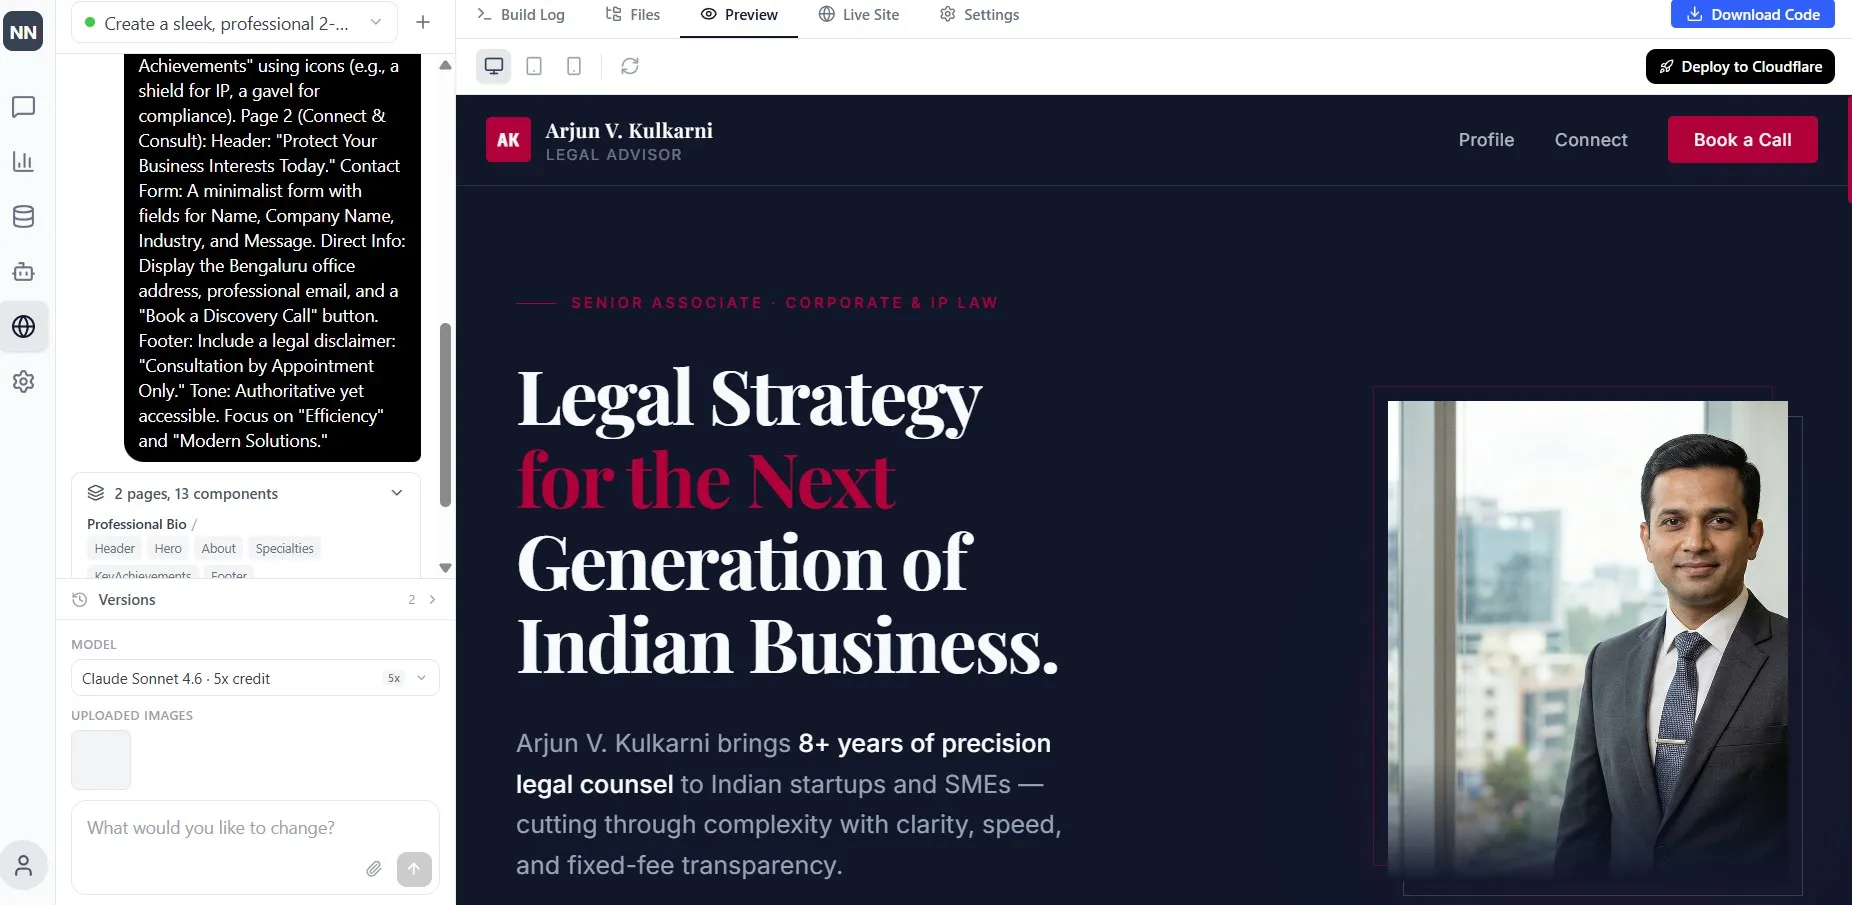
Once complete, you can preview the site, browse the individual files, make changes by typing further instructions into the prompt, and access the live URL — all from within the same interface.
Voilà! Your Website is Ready
You now have a live, professionally structured website built from your own content, deployed without a developer, a design brief, or a lengthy back-and-forth with an agency.
Next, you can add your custom domain from the Settings tab.
For SMEs that have been deferring their web presence because the traditional route felt too expensive, too slow, or too dependent on outside help, the shift here is significant. Updates can be made internally as your business evolves. The content reflects your actual services and language. And the process from first upload to live site is measured in minutes, not weeks.
Get started on NextNeural today, and you’ll receive 2,000 free credits to build with. That’s enough to get your site up, explore the platform, and see for yourself how quickly a professional web presence can come together.
Sign up at nextneural.ai and claim your free credits to get started. If you want NextNeural.ai deployed for your organization or your team, reach out to us.
Ready to Transform Your Business with AI?
Join NextNeural today and deploy production-ready AI agents in minutes.
Build an Agent