How to Build a Presentation Deck in 5 Minutes with NextNeural Builder AI
For most professionals, creating a presentation is one of those tasks that takes far longer than it should. You spend hours wrestling with slide layouts, reformatting content you’ve already written elsewhere, and trying to make something look polished enough to put in front of a client or an executive team.
NextNeural’s Builder AI has just changed that. We’ve rolled out a brand new feature: instant slide decks. You can now go from a source document to a fully structured, professionally designed presentation in under five minutes without touching a single design tool.
In this guide, we’ll walk you through the entire process using a real example: a strategic intelligence report on the Global AI Race across the United States, China, and India.
What Makes This Different from Every Other Presentation Tool?
Before we discuss the steps, it’s worth understanding what separates NextNeural’s slide builder from the alternatives.
Most AI presentation tools start from scratch. You give them a topic, they generate generic content, and you spend the next hour fixing inaccuracies and trying to make it sound like you. Builder AI works the other way around. You bring your own source material, a research report, a briefing doc, a structured PDF, and the AI builds the presentation from that - meaning the output reflects your actual analysis, your data, and your framing.
On top of that, you get direct text and image editing inside the slide editor, multi-language output with no manual rewriting, the ability to choose your AI model based on cost and quality, and the option to deploy entirely on your own cloud if your organisation requires it. White-labelled decks with no watermarks are available for a small fee.
What You’ll Need
Just one thing: a source document. A research report, a company briefing, a strategic overview, or a capabilities deck, anything that captures the content you want to present. The richer and more structured your document, the better the output. A well-organised PDF will produce a first build that needs very little refinement.
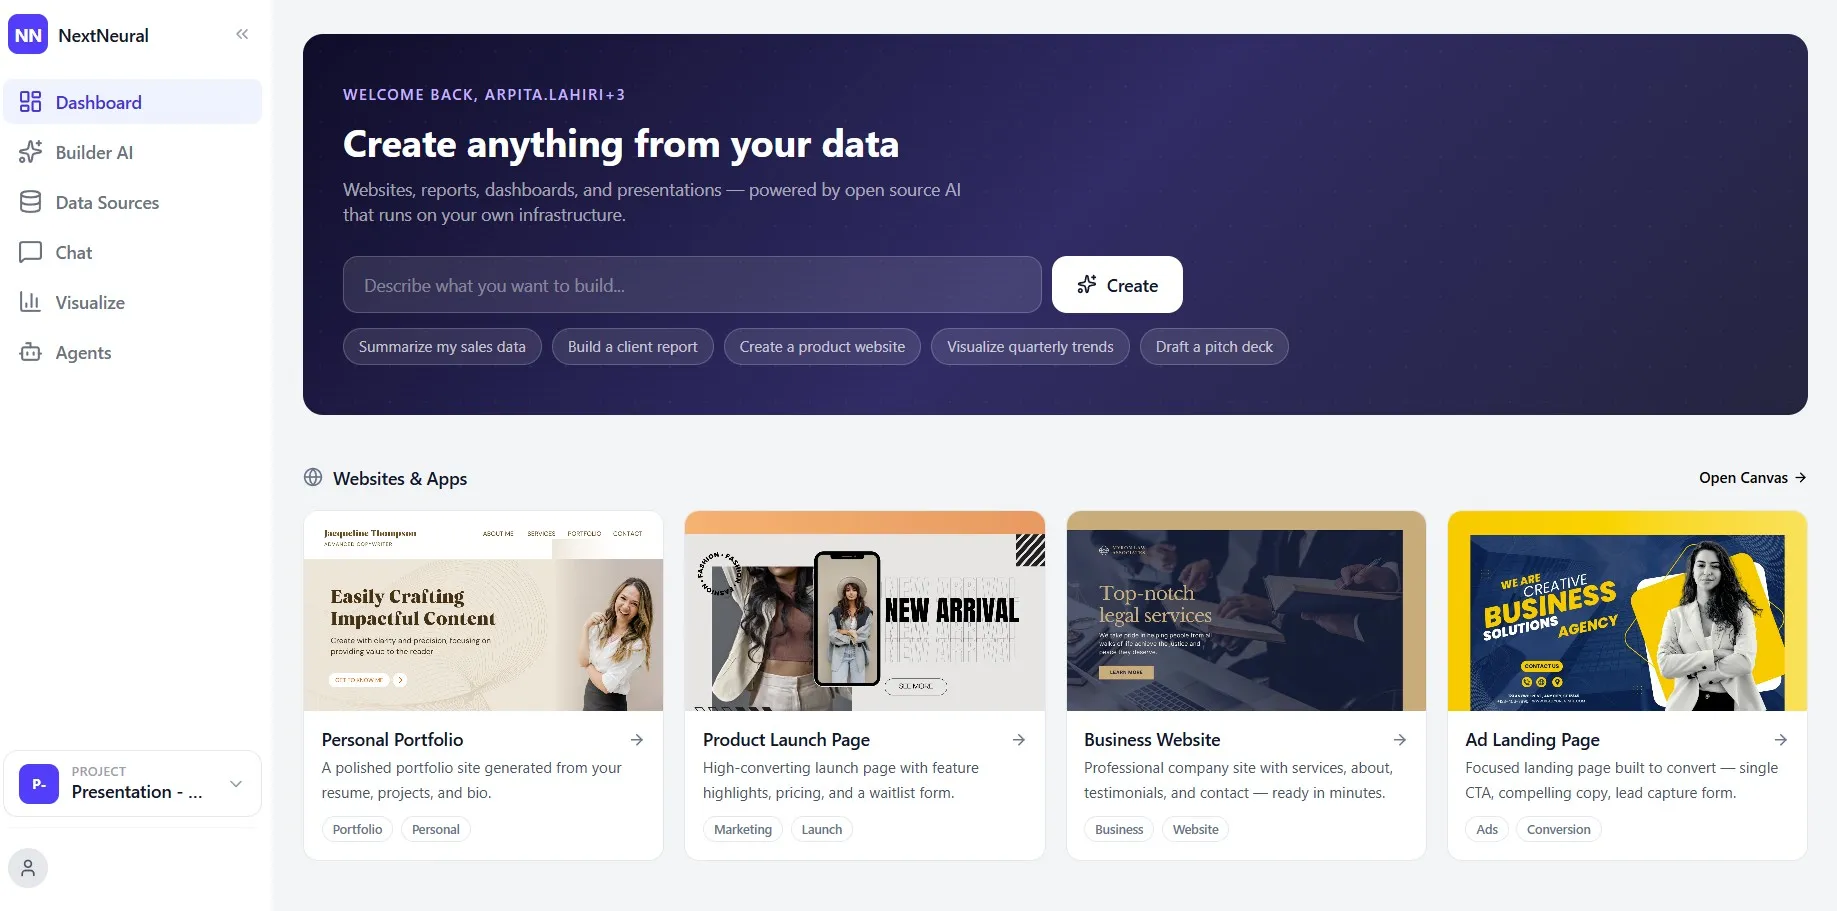
Step 1: Open the Dashboard
Head to cloud.nextneural.ai and sign in. You’ll land on the main dashboard, where you can see your recent builds and start a new one. The left sidebar gives you access to all key sections: Dashboard, Builder AI, Data Sources, Chat, Visualize, and Agents.
New accounts come with 2,000 free credits, which is enough to build your first deck and get a genuine feel of what the platform can do.
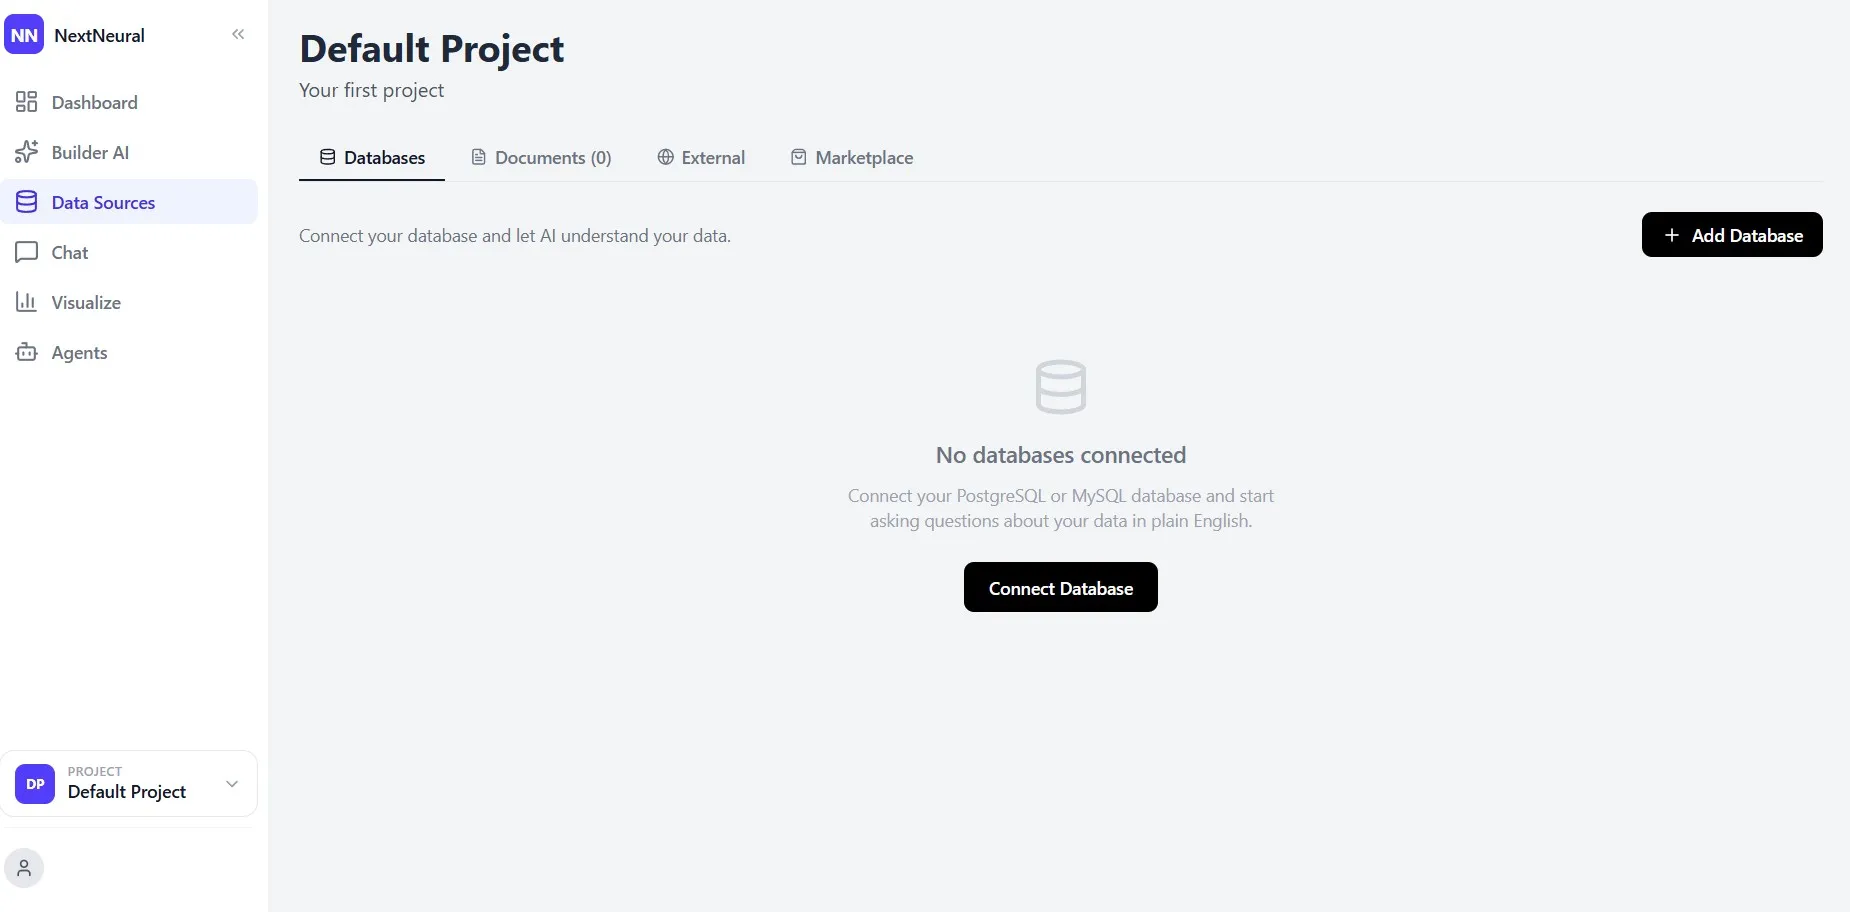
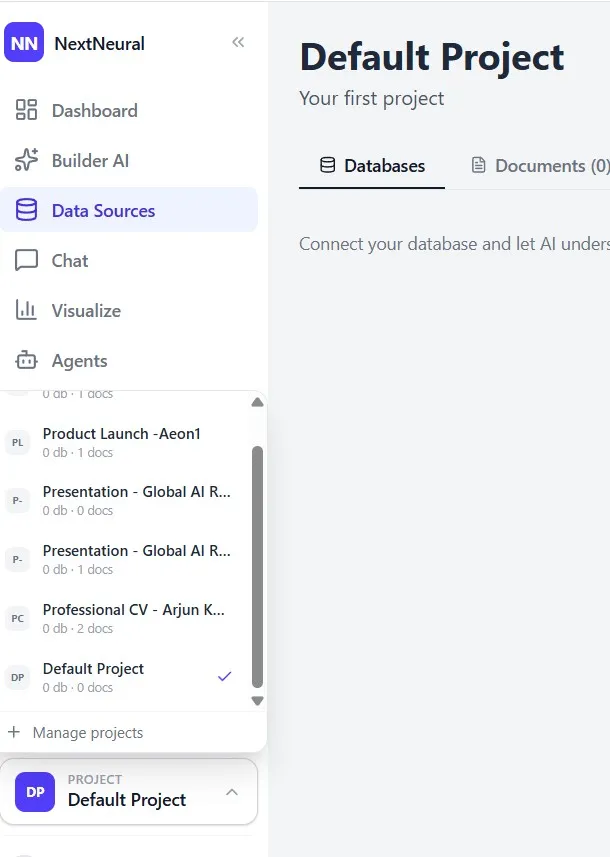
Step 2: Go to Data Sources and Create a Project
Click Data Sources on the left sidebar. You’ll see tabs for Databases, Documents, External, and Marketplace. To keep your work organised, start by creating a dedicated project for this presentation.
Click the project switcher at the bottom of the sidebar and select Manage Projects. A modal will appear showing your existing projects and a field to create a new one. Enter a project name, something like “Presentation - Global AI Race - US, China, India”. Add a brief description, and click Create Project.
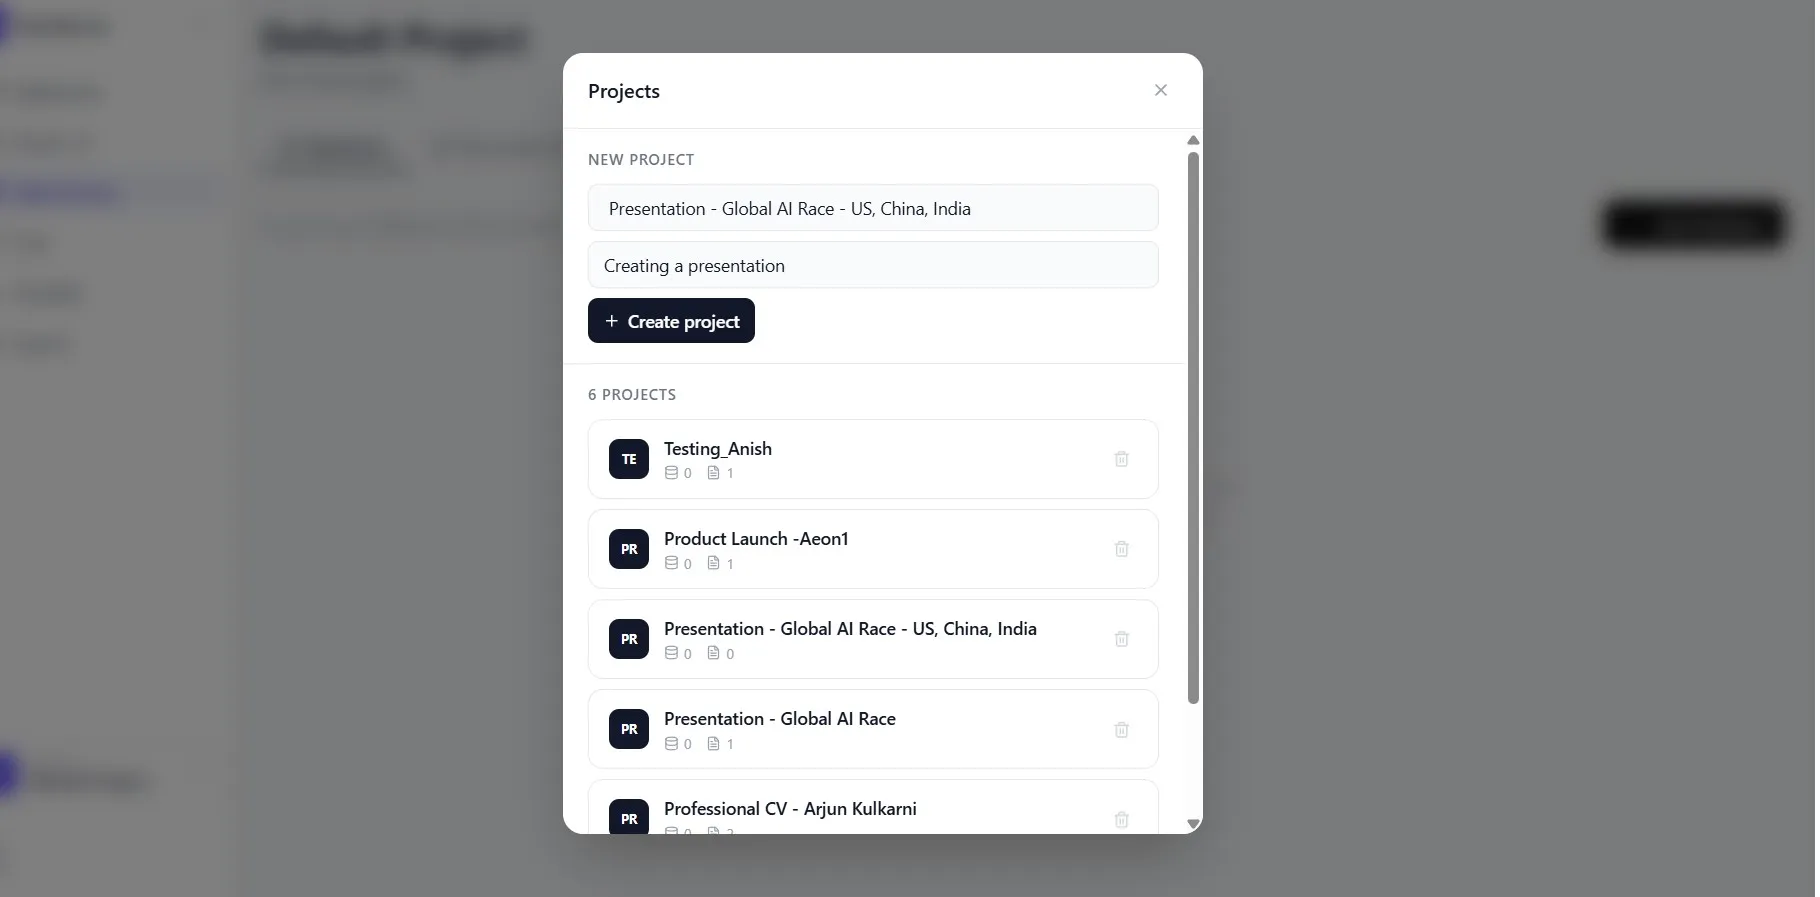
This project becomes the container that ties your uploaded content to your Builder AI output.
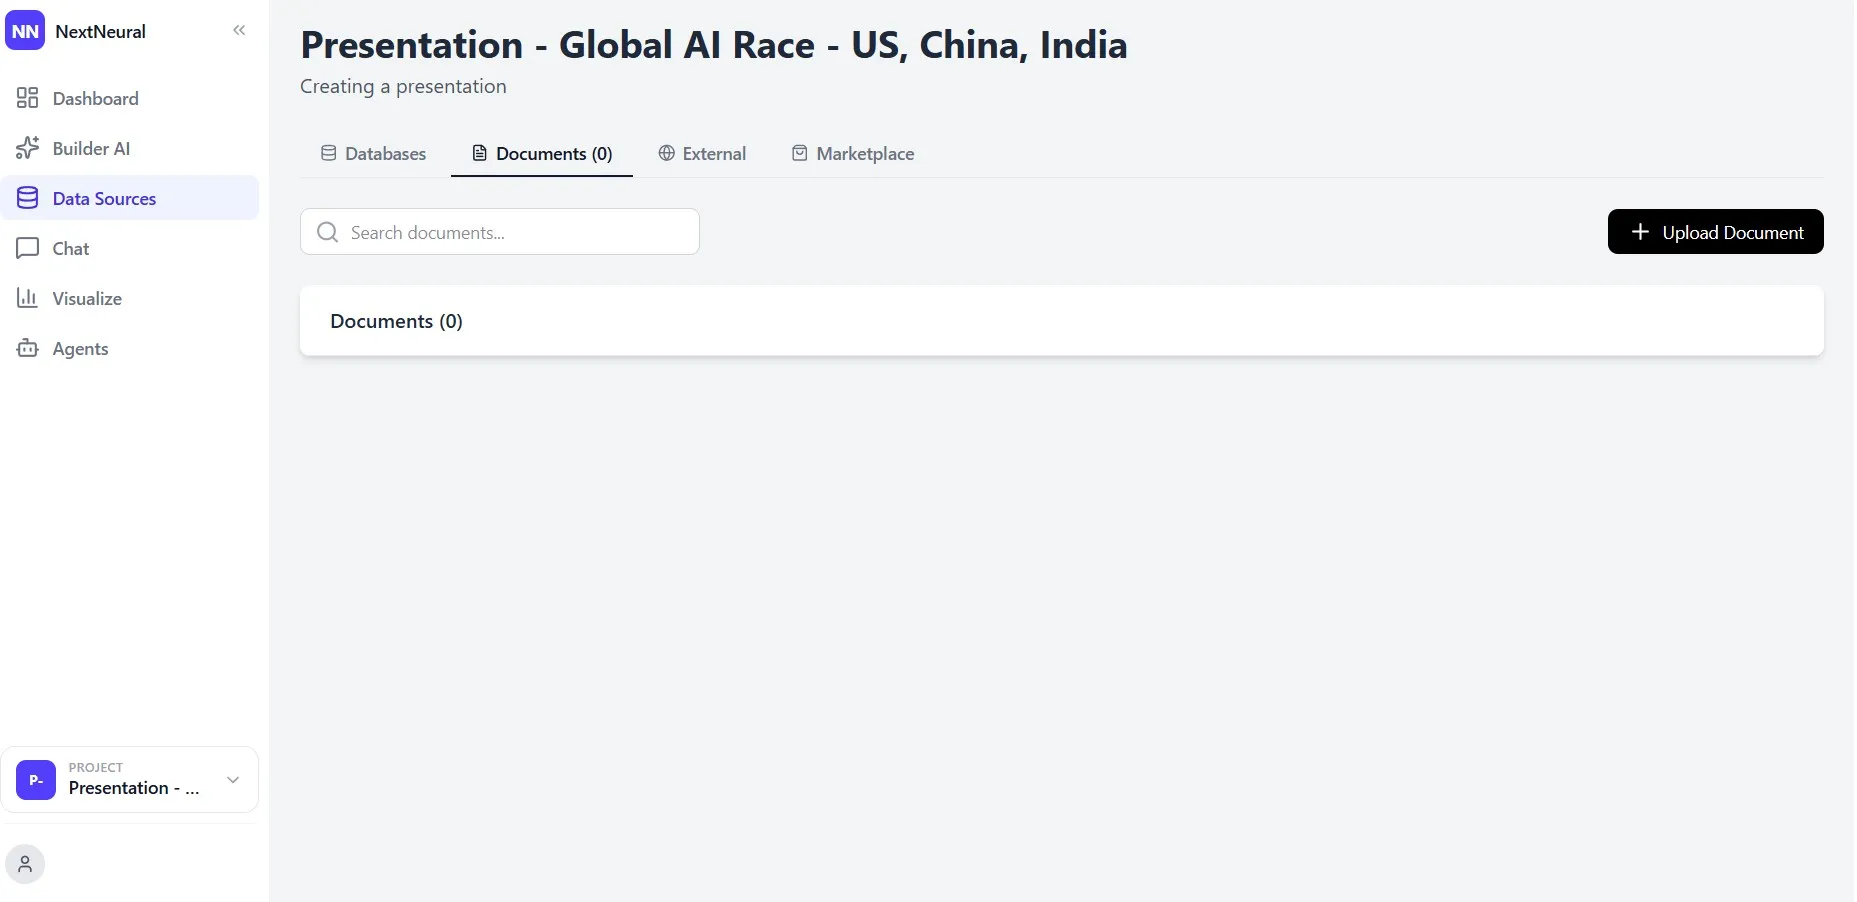
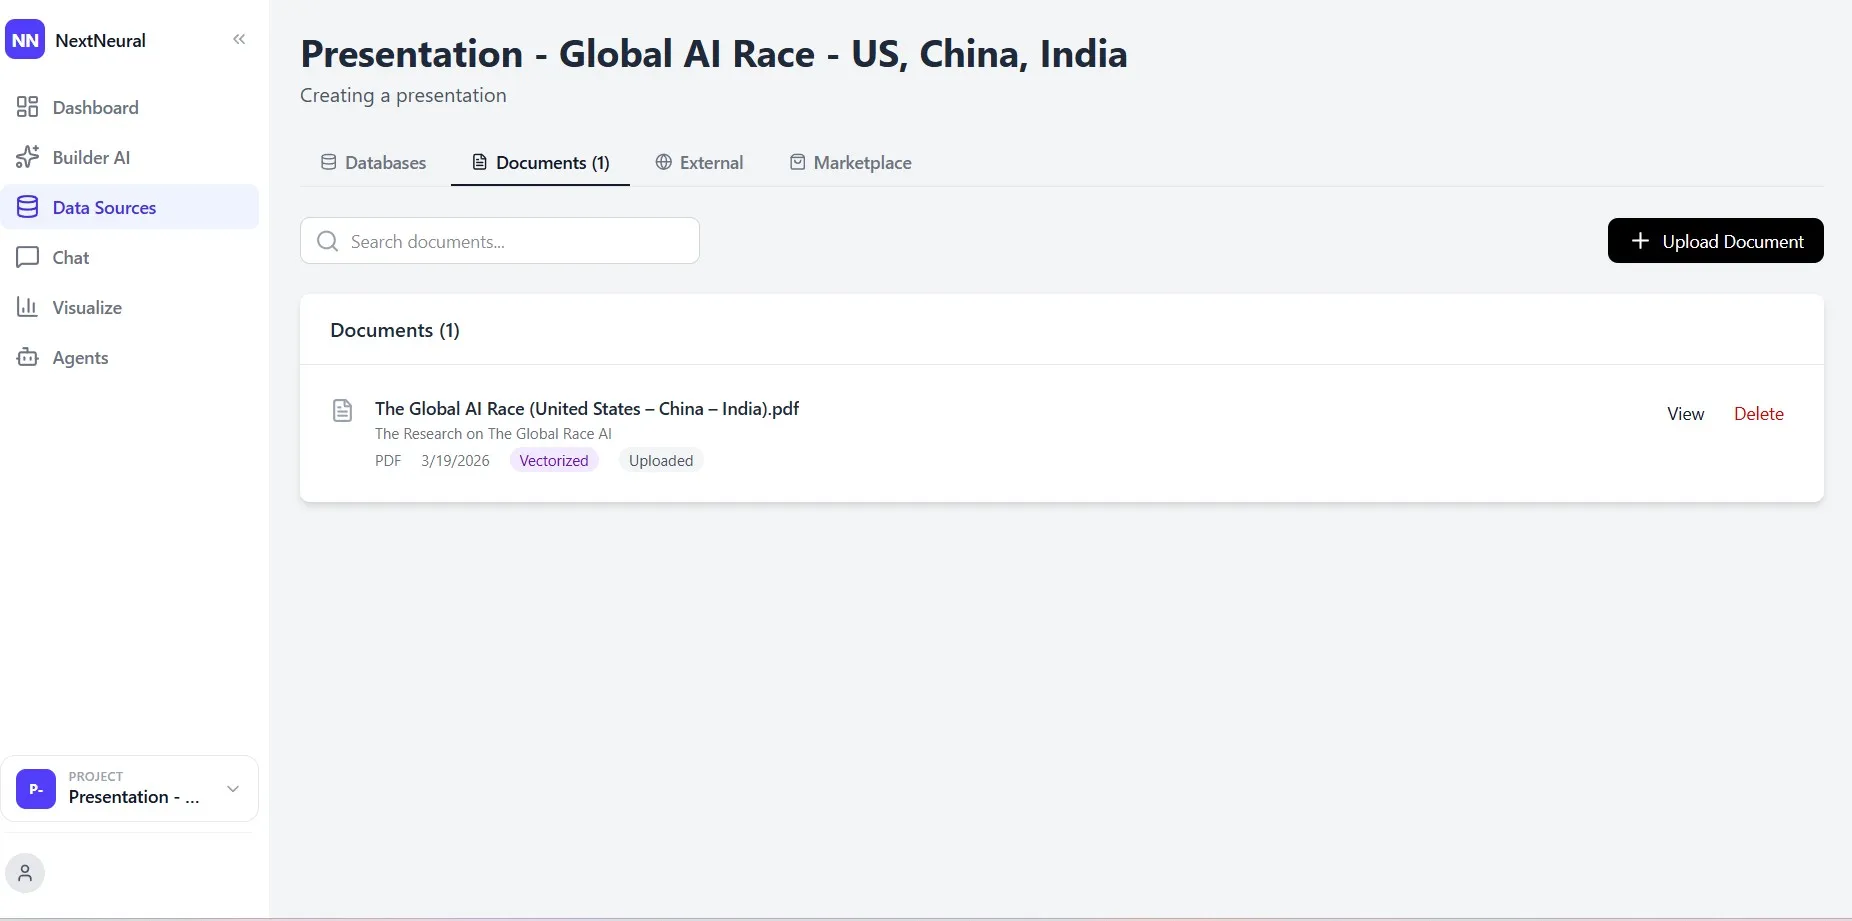
Step 3: Upload Your Document to the Knowledge Base
With your new project selected, navigate back to Data Sources and click the Documents tab. You’ll see it’s currently empty. Click + Upload Document on the top right.
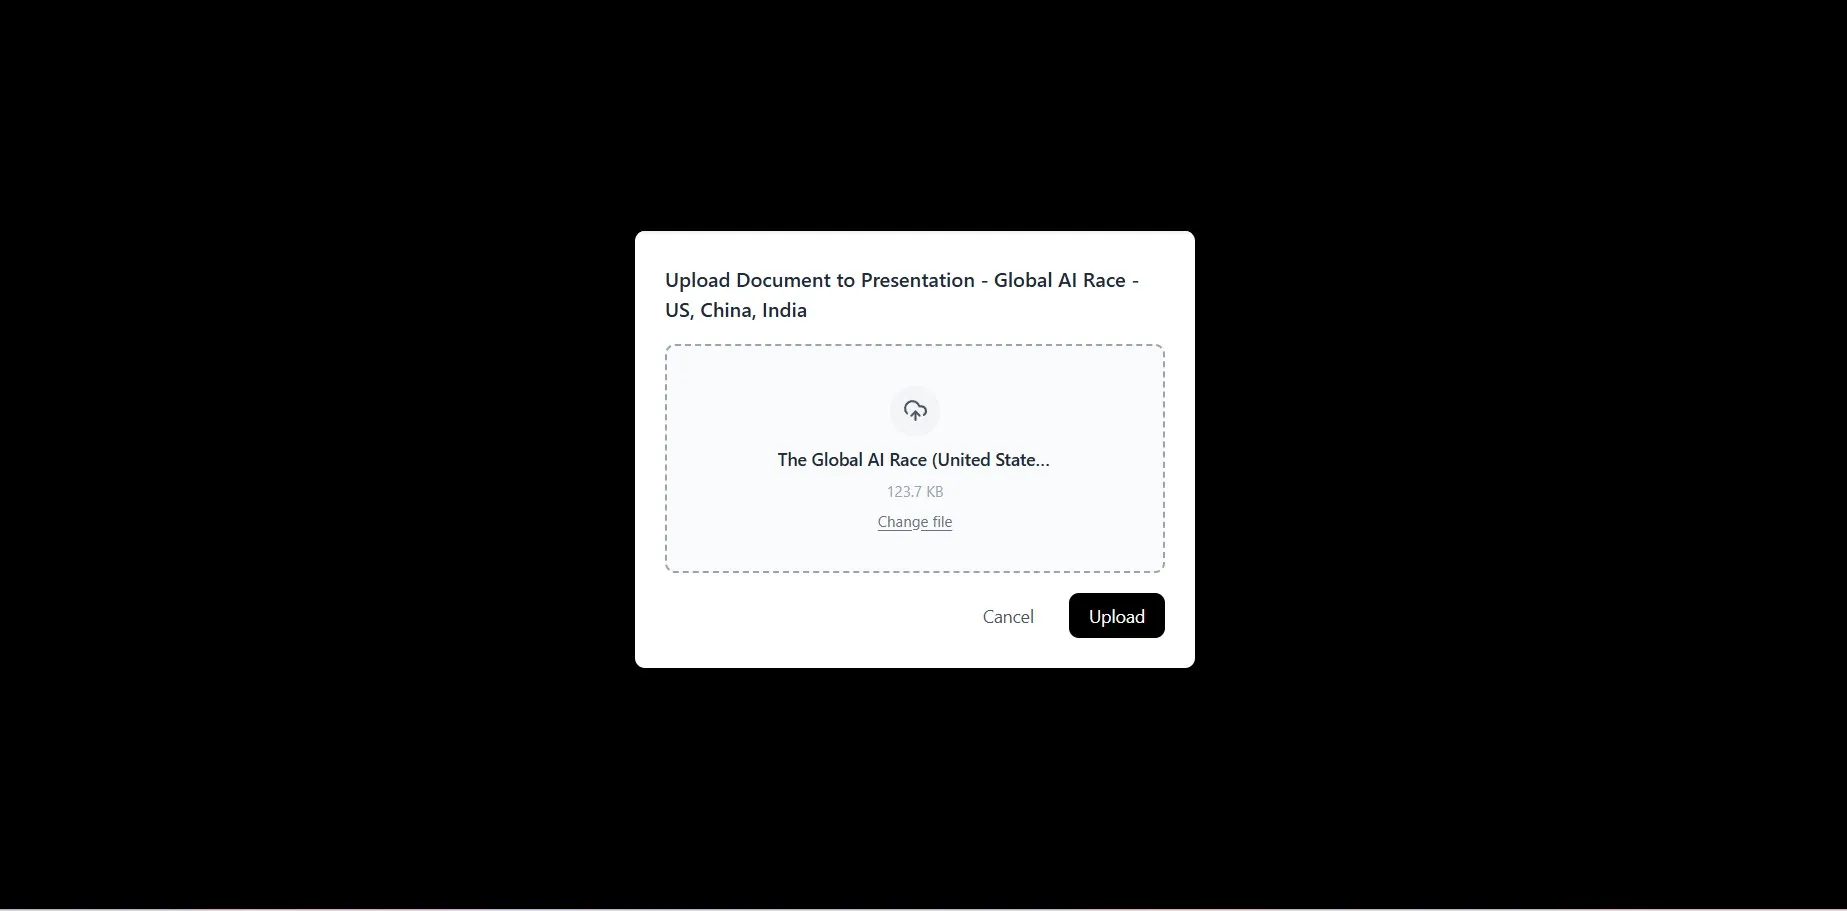
A file upload dialog will appear. Select your source document from your computer — in this case, a PDF titled “The Global AI Race (United States – China – India)” — and click Upload.
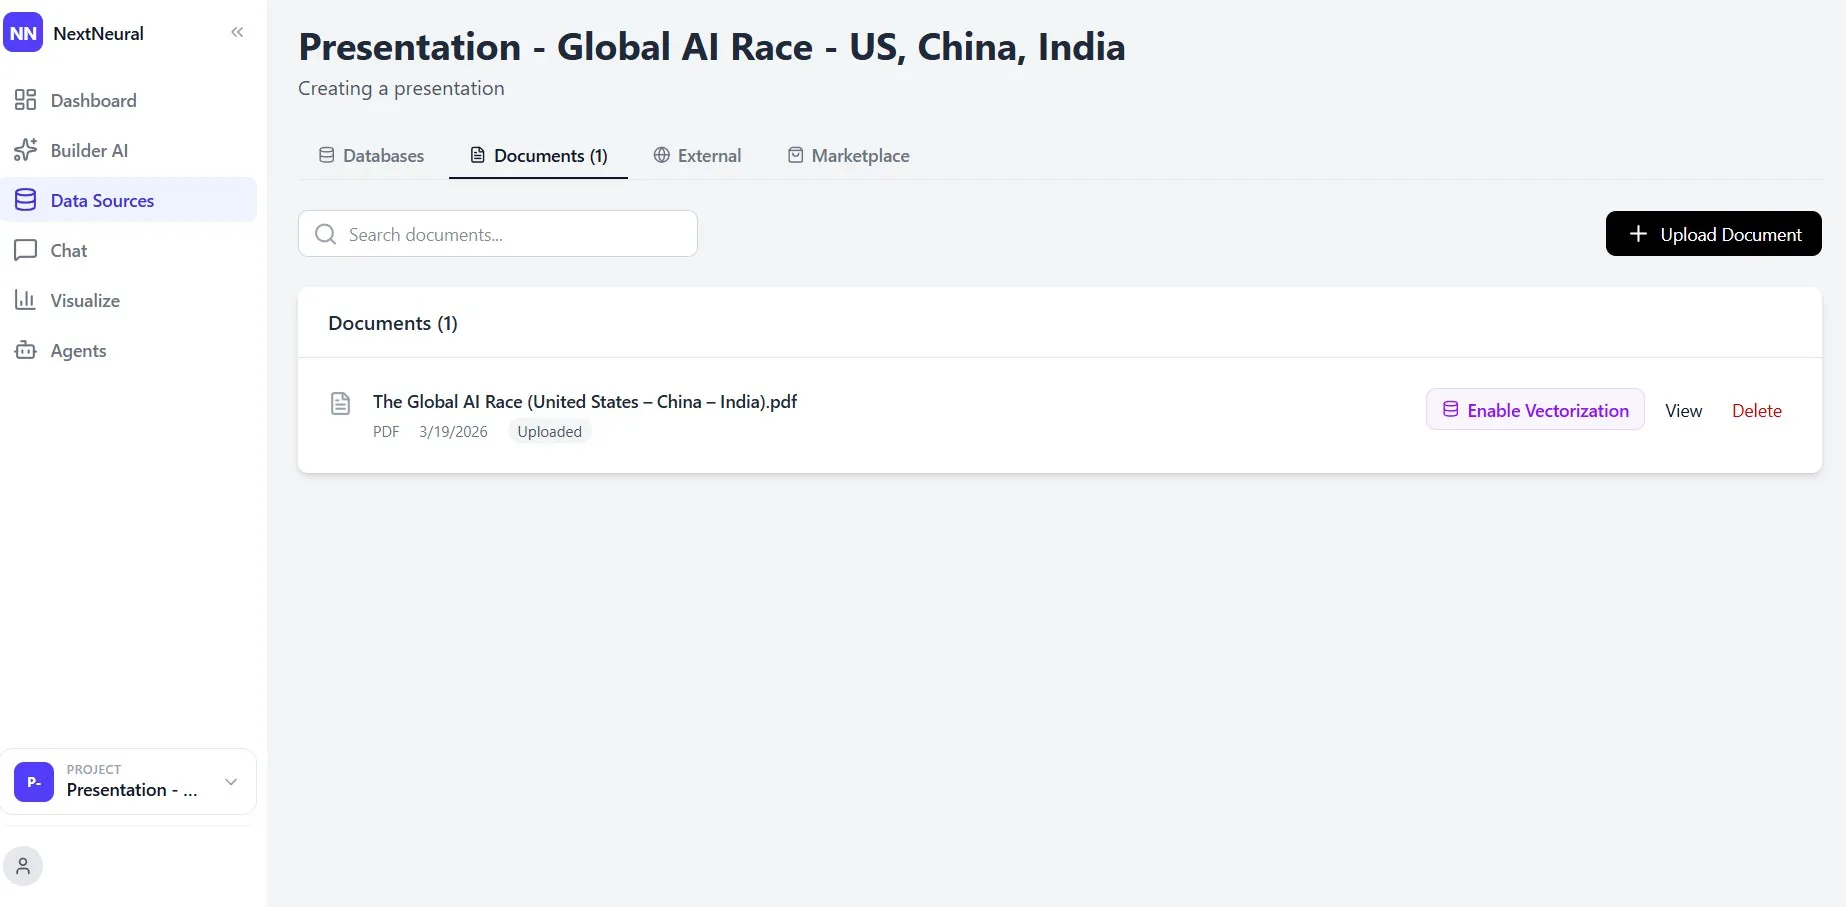
Within seconds, your document will appear in the Documents list with status saying Uploaded.
Step 4: Enable Vectorization
Once the document is uploaded, you’ll see the Enable Vectorization button next to the file. Click on it.
Vectorization is what makes this more than a simple file upload. The system indexes your document so the AI can retrieve from it accurately and contextually, meaning the content that ends up in your slides is traceable back to what you’ve actually written, not hallucinated or generalised. For strategic reports, research decks, or any presentation where accuracy matters, this step is what is the most crucial.
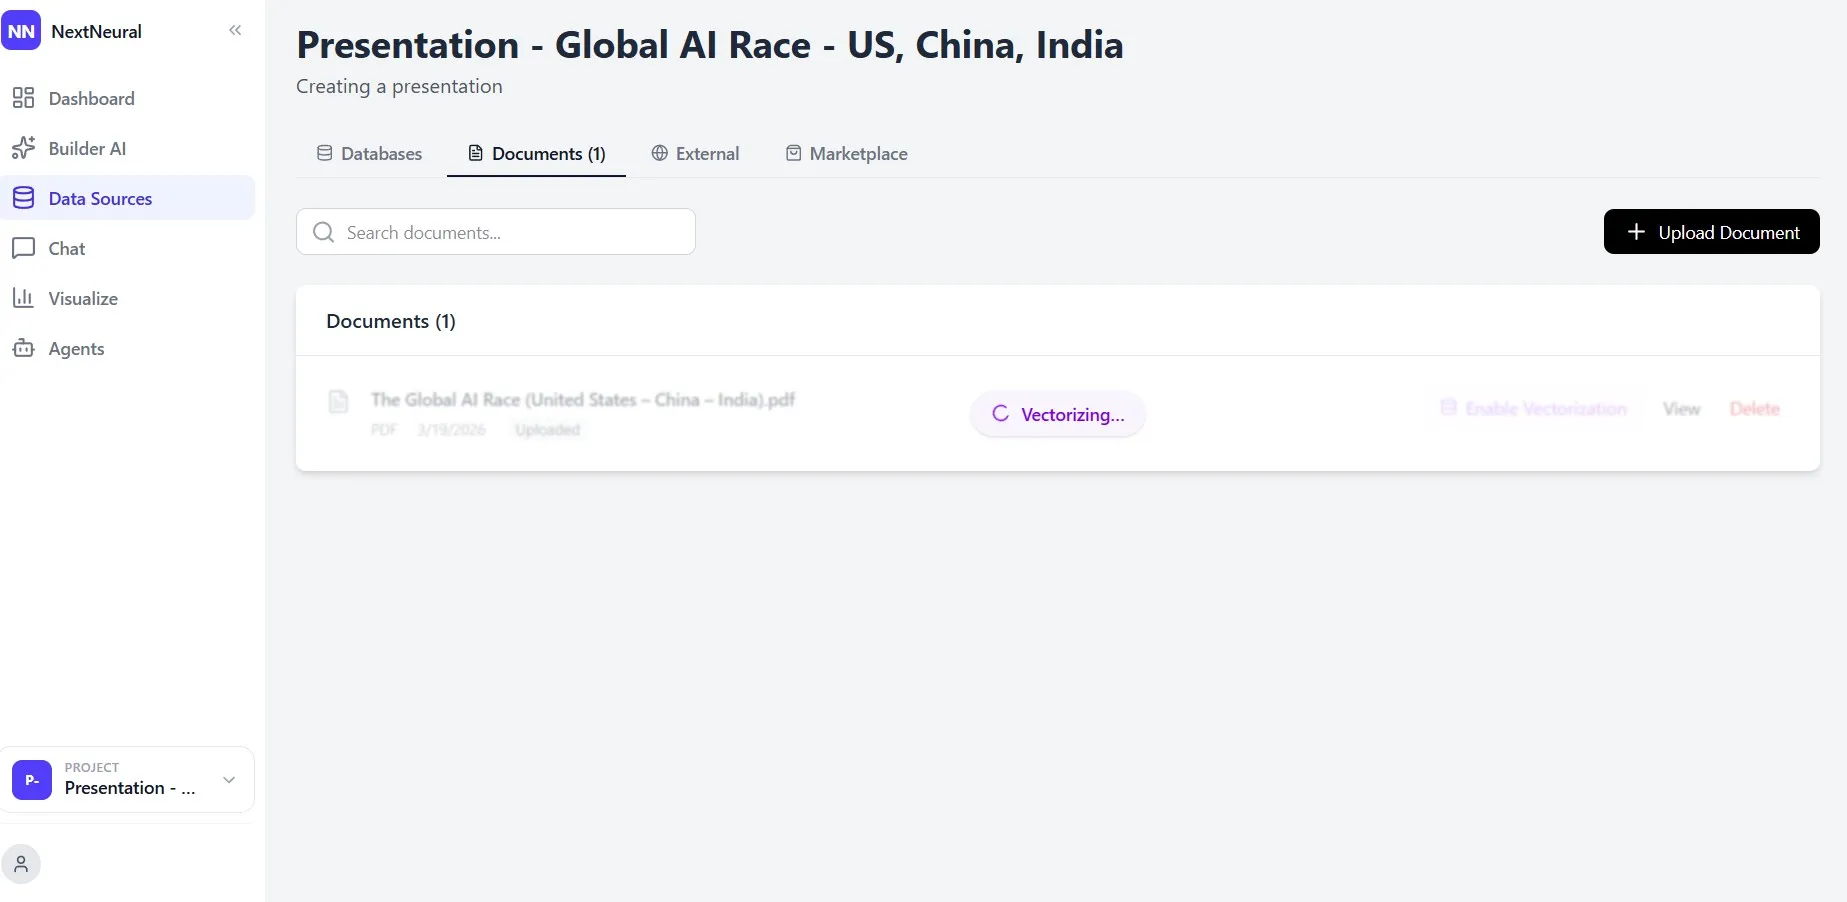
The status will briefly show Vectorizing… before updating to Vectorized. The process typically takes under a minute.
Step 5: Go to Builder AI and Switch Format to Slides
Click Builder AI on the left sidebar. You’ll land on the Builder interface, which shows your recent builds on the right and the configuration panel on the left.
In the lower section of the left panel, you’ll see three settings to configure:
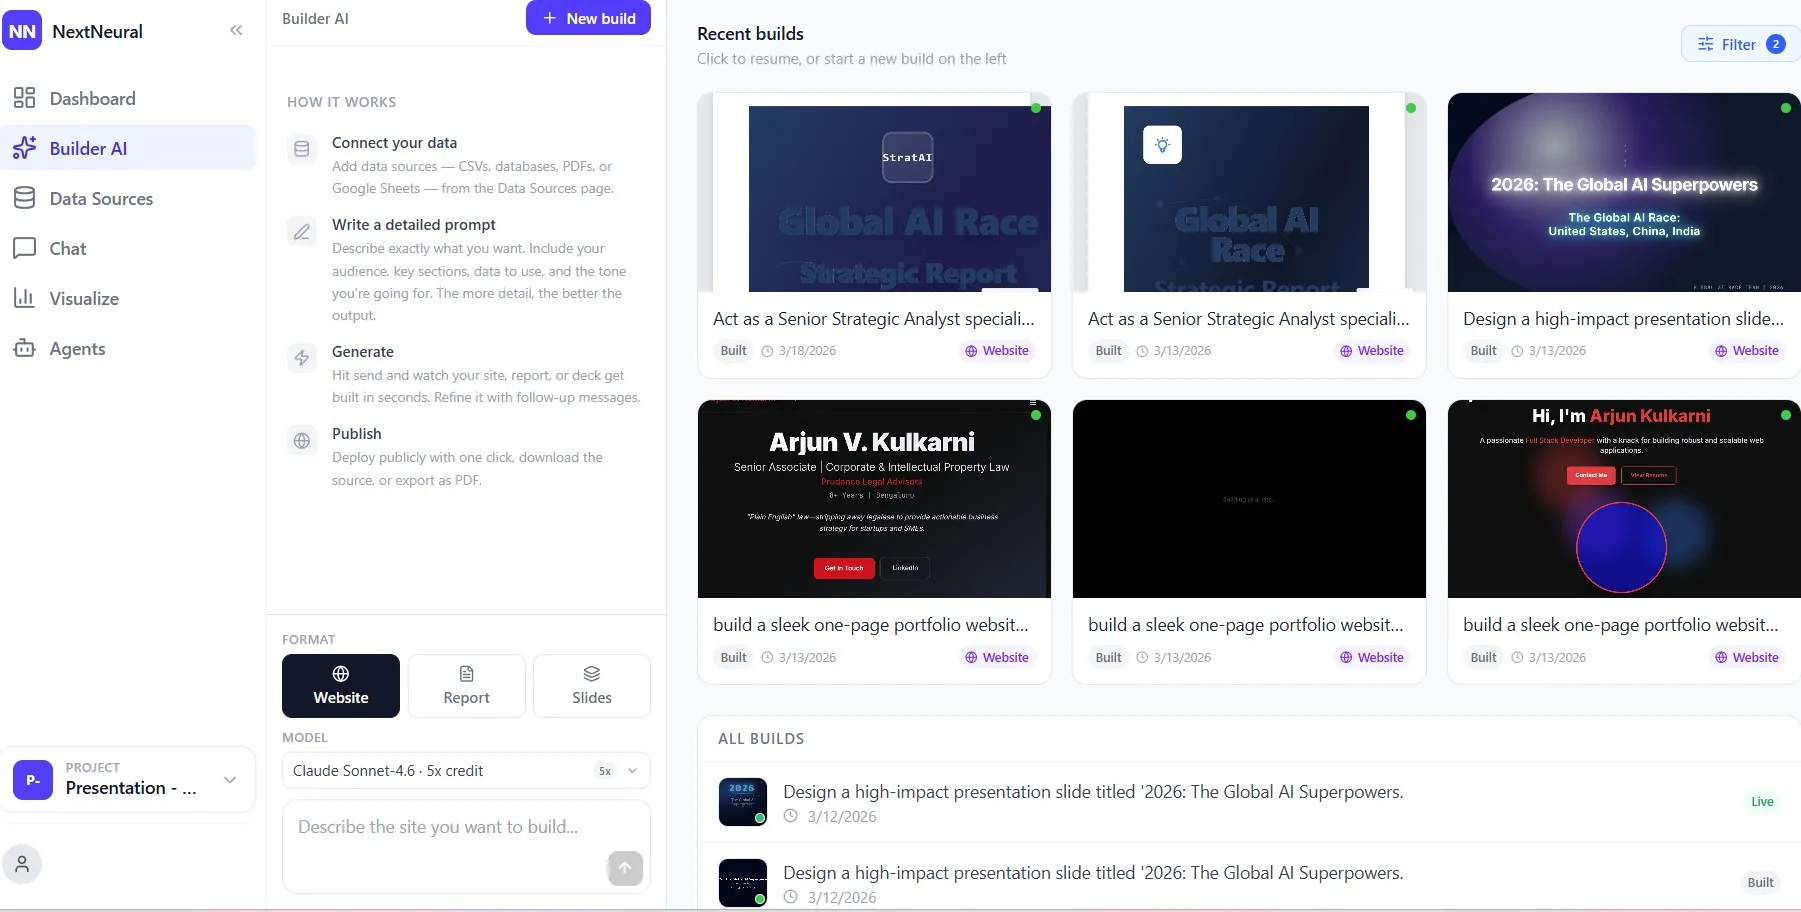
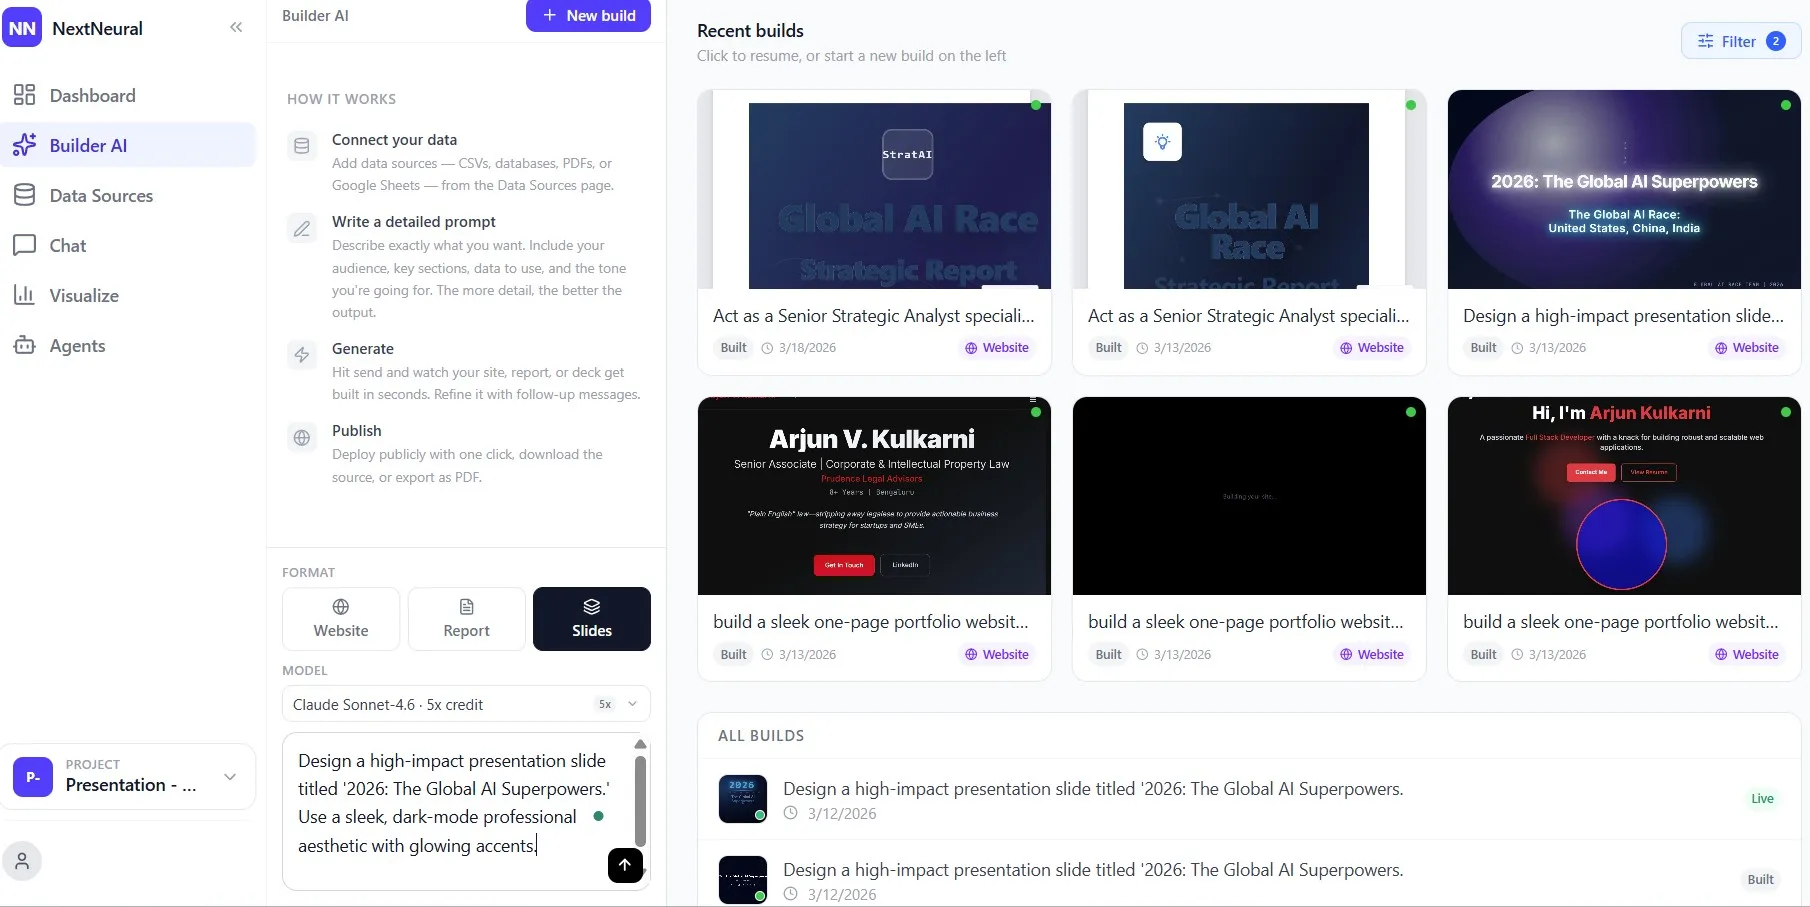
Format: By default this is set to Website. Click Slides to switch the output format. You’ll notice the prompt placeholder in the text area updates to reflect this.

Model: Choose the AI model you want to use. NextNeural gives you a range of options at different credit costs: Claude Opus 4.6 at 8x, Claude Sonnet 4.6 at 5x, Gemini, GPT, Grok, and others. For a detailed strategic presentation, Claude Sonnet 4.6 can work as your default. If you want to optimise for cost on a quicker draft, Grok-Code-Fast-1 at 1x credit is available. The choice is yours depending on quality, speed, and budget.
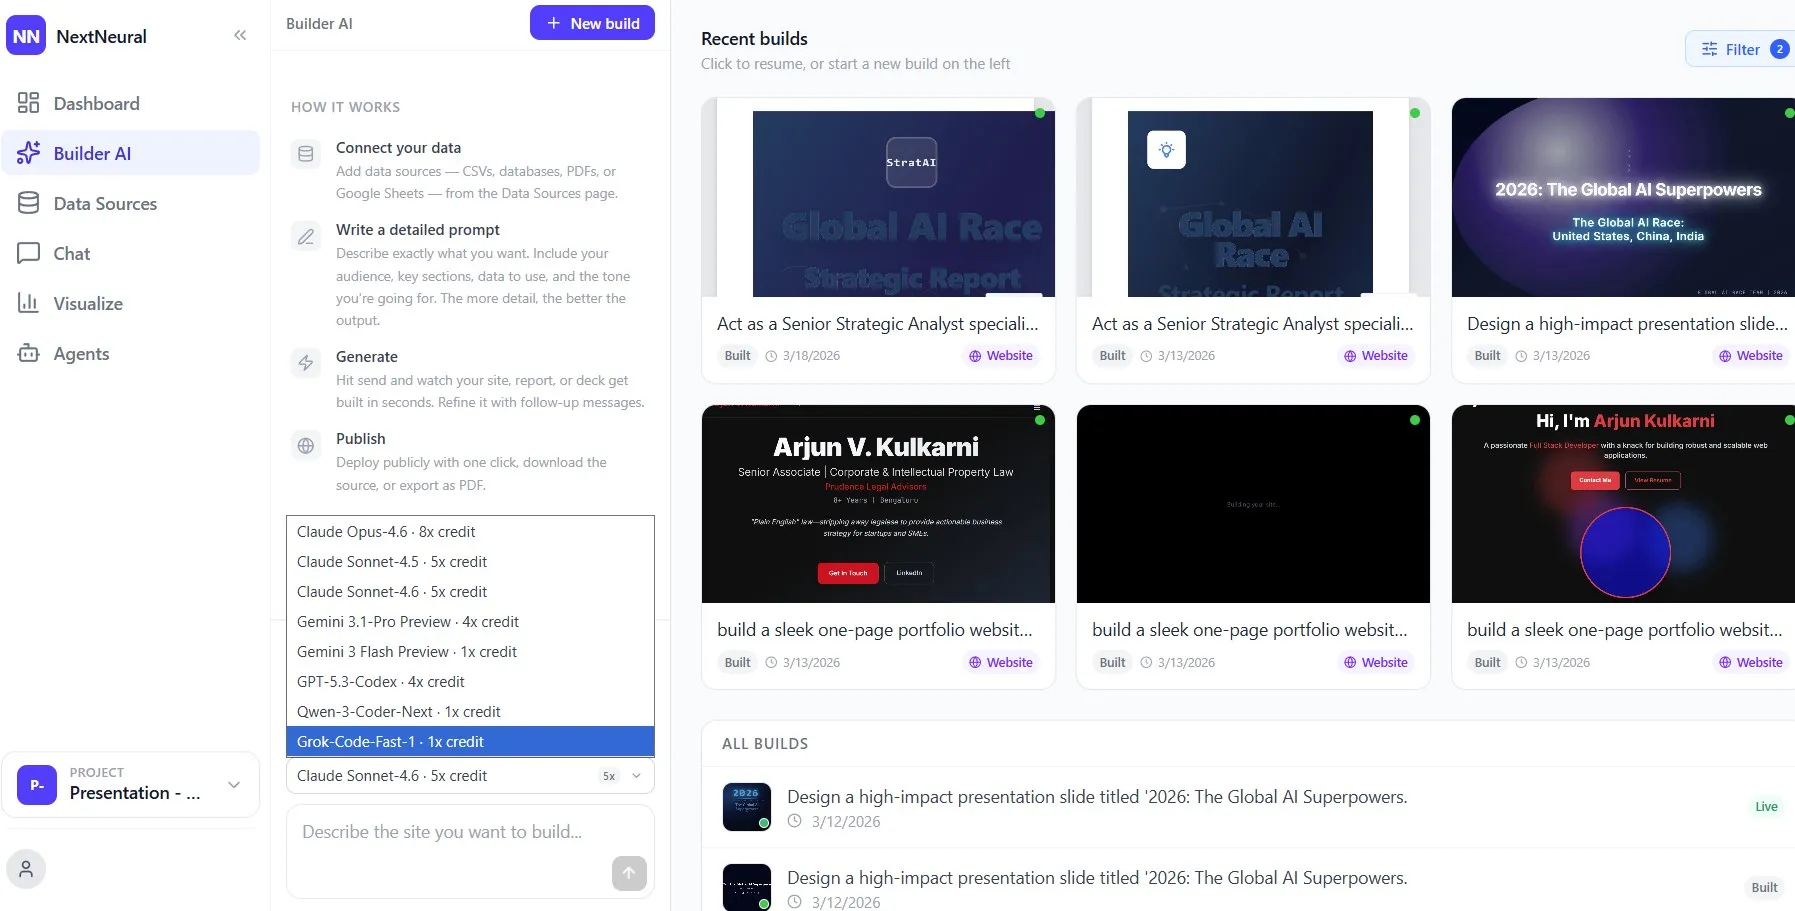
Project: Make sure the project you just created is selected at the bottom of the sidebar. This is what connects the Builder to your vectorized document.
Step 6: Write Your Prompt
This is the most important input, and it requires no technical knowledge — just a clear description of the presentation you want to create. The more specific you are, the closer the first build will be to what you need.
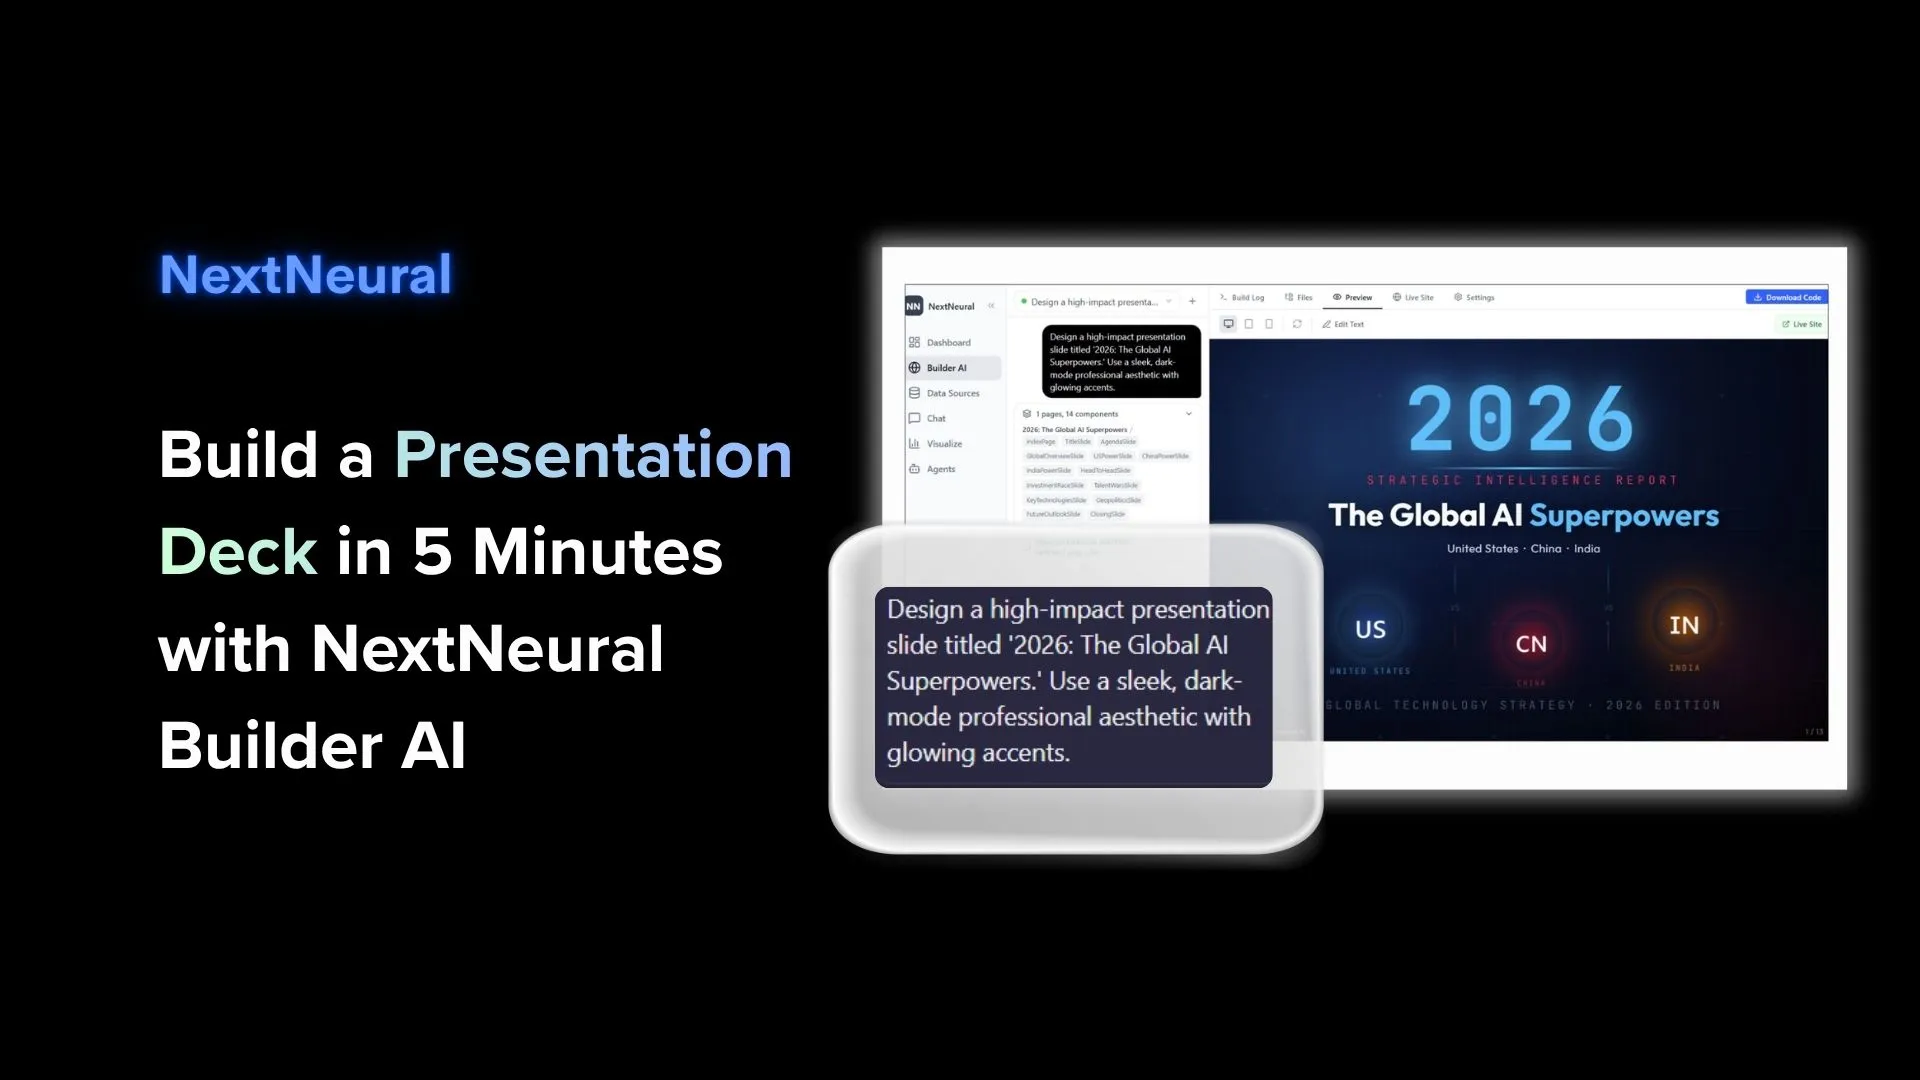
Here’s an example of the prompt used for this walkthrough:
“Design a high-impact presentation slide titled ‘2026: The Global AI Superpowers.’ Use a sleek, dark-mode professional aesthetic with glowing accents.”
You can specify the visual style, the audience, the narrative structure, the number of slides, specific sections you want covered, and the tone. If your source document is well-structured, the AI will use it to populate the content of each slide automatically.
Once your prompt is ready, click Send.
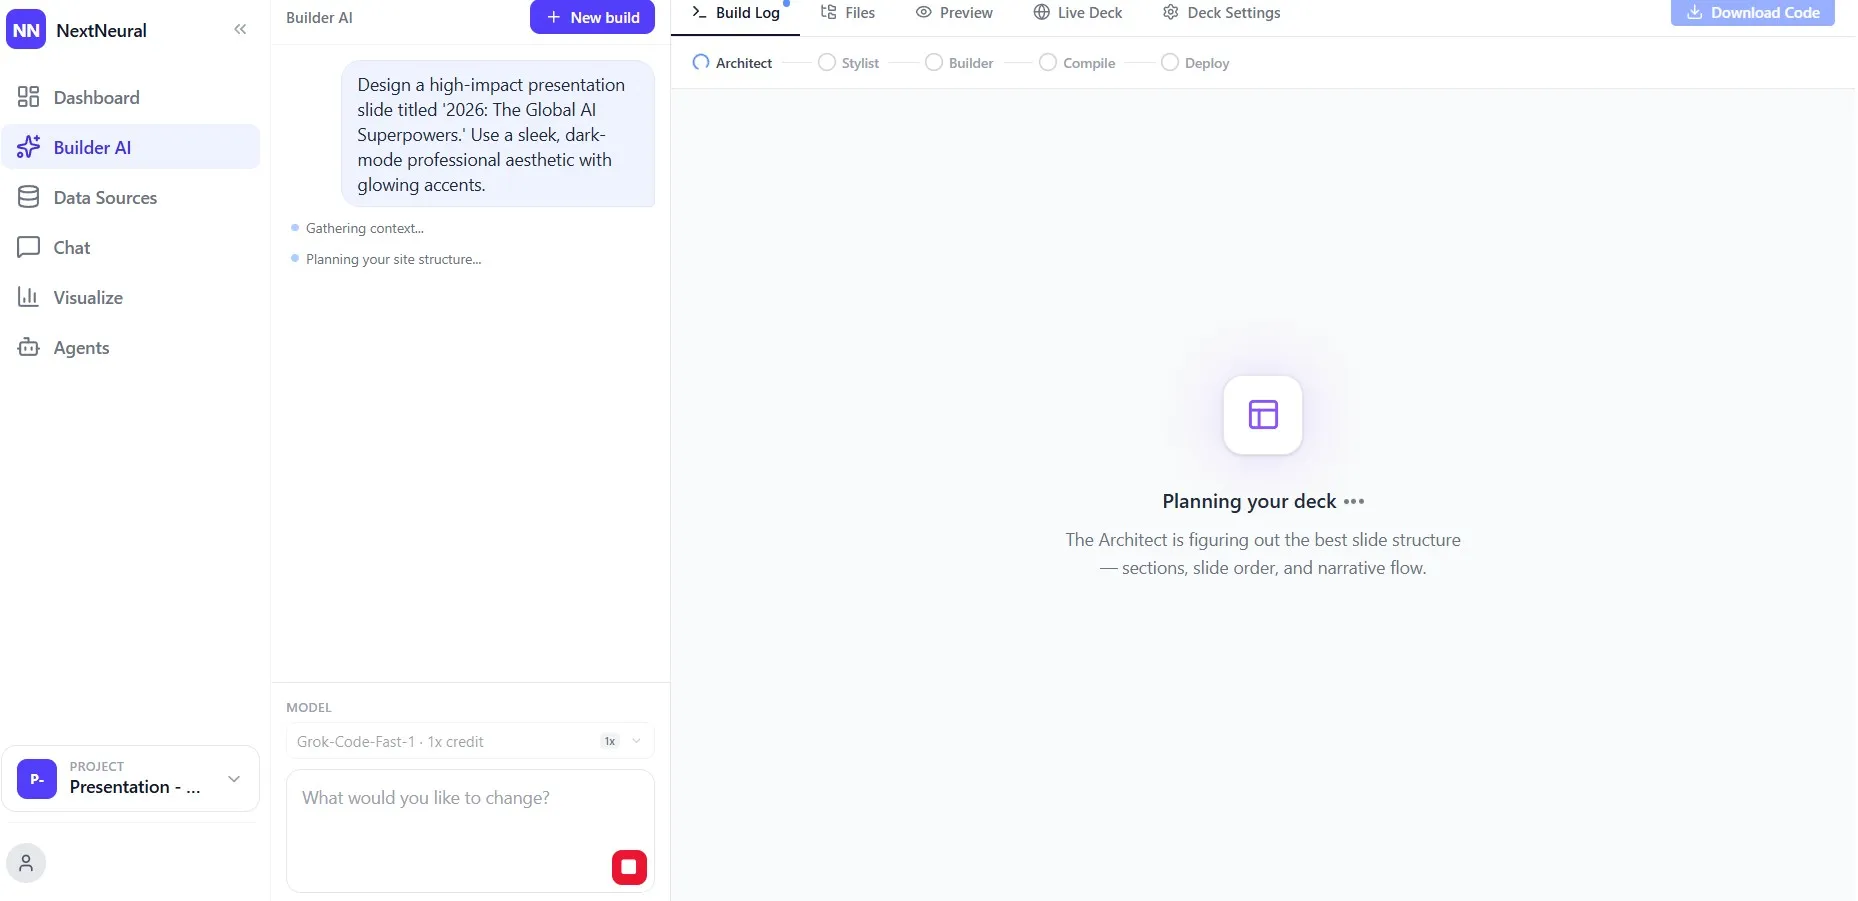
Step 7: Watch It Build
The Build Log opens on the right-hand side and the system moves through five stages: Architect → Stylist → Builder → Compile → Deploy.
First, the Architect plans your deck, basically figuring out the best slide structure, section order, and narrative flow. You’ll see the component list populate in real time: in this example, 13 components across one page, including an IndexPage, TitleSlide, AgendaSlide, slides for each country overview, a ComparativeAnalysis, KeyMetrics, FutureOutlook, and a ConclusionCTA.
Then the Stylist designs the visual theme. The Builder generates each file; you can watch them appear one by one in the file list. Then the system compiles and deploys.

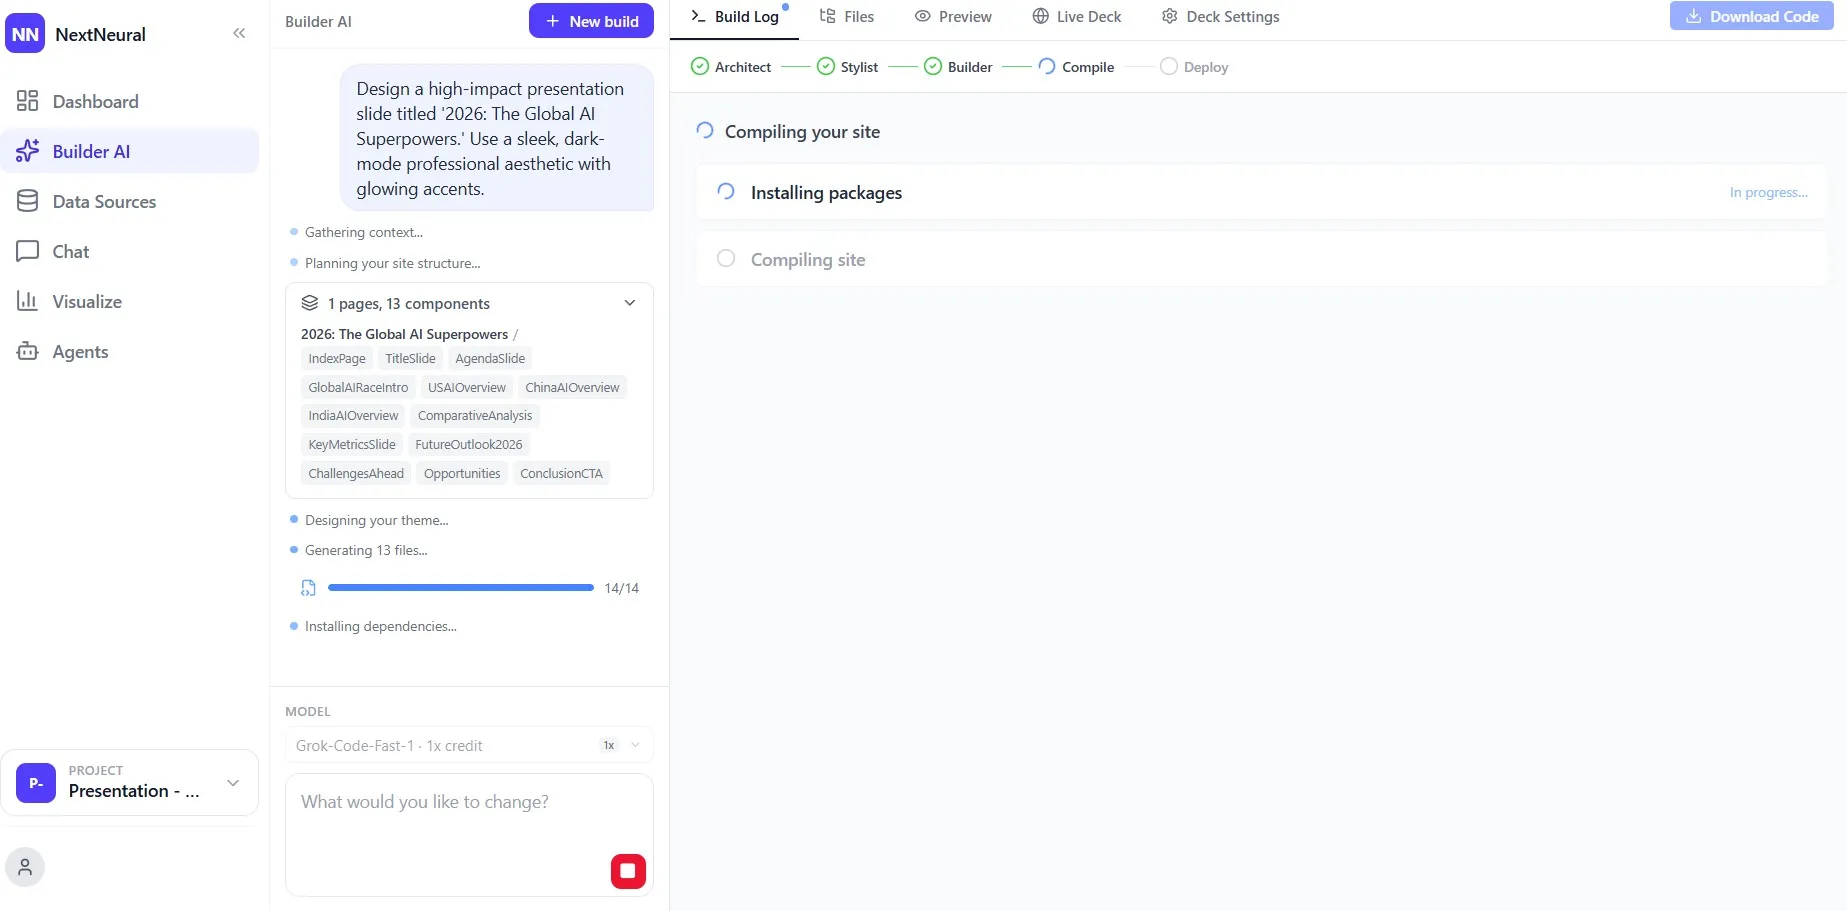
The whole process for a 13-slide deck runs in under 5 minutes.
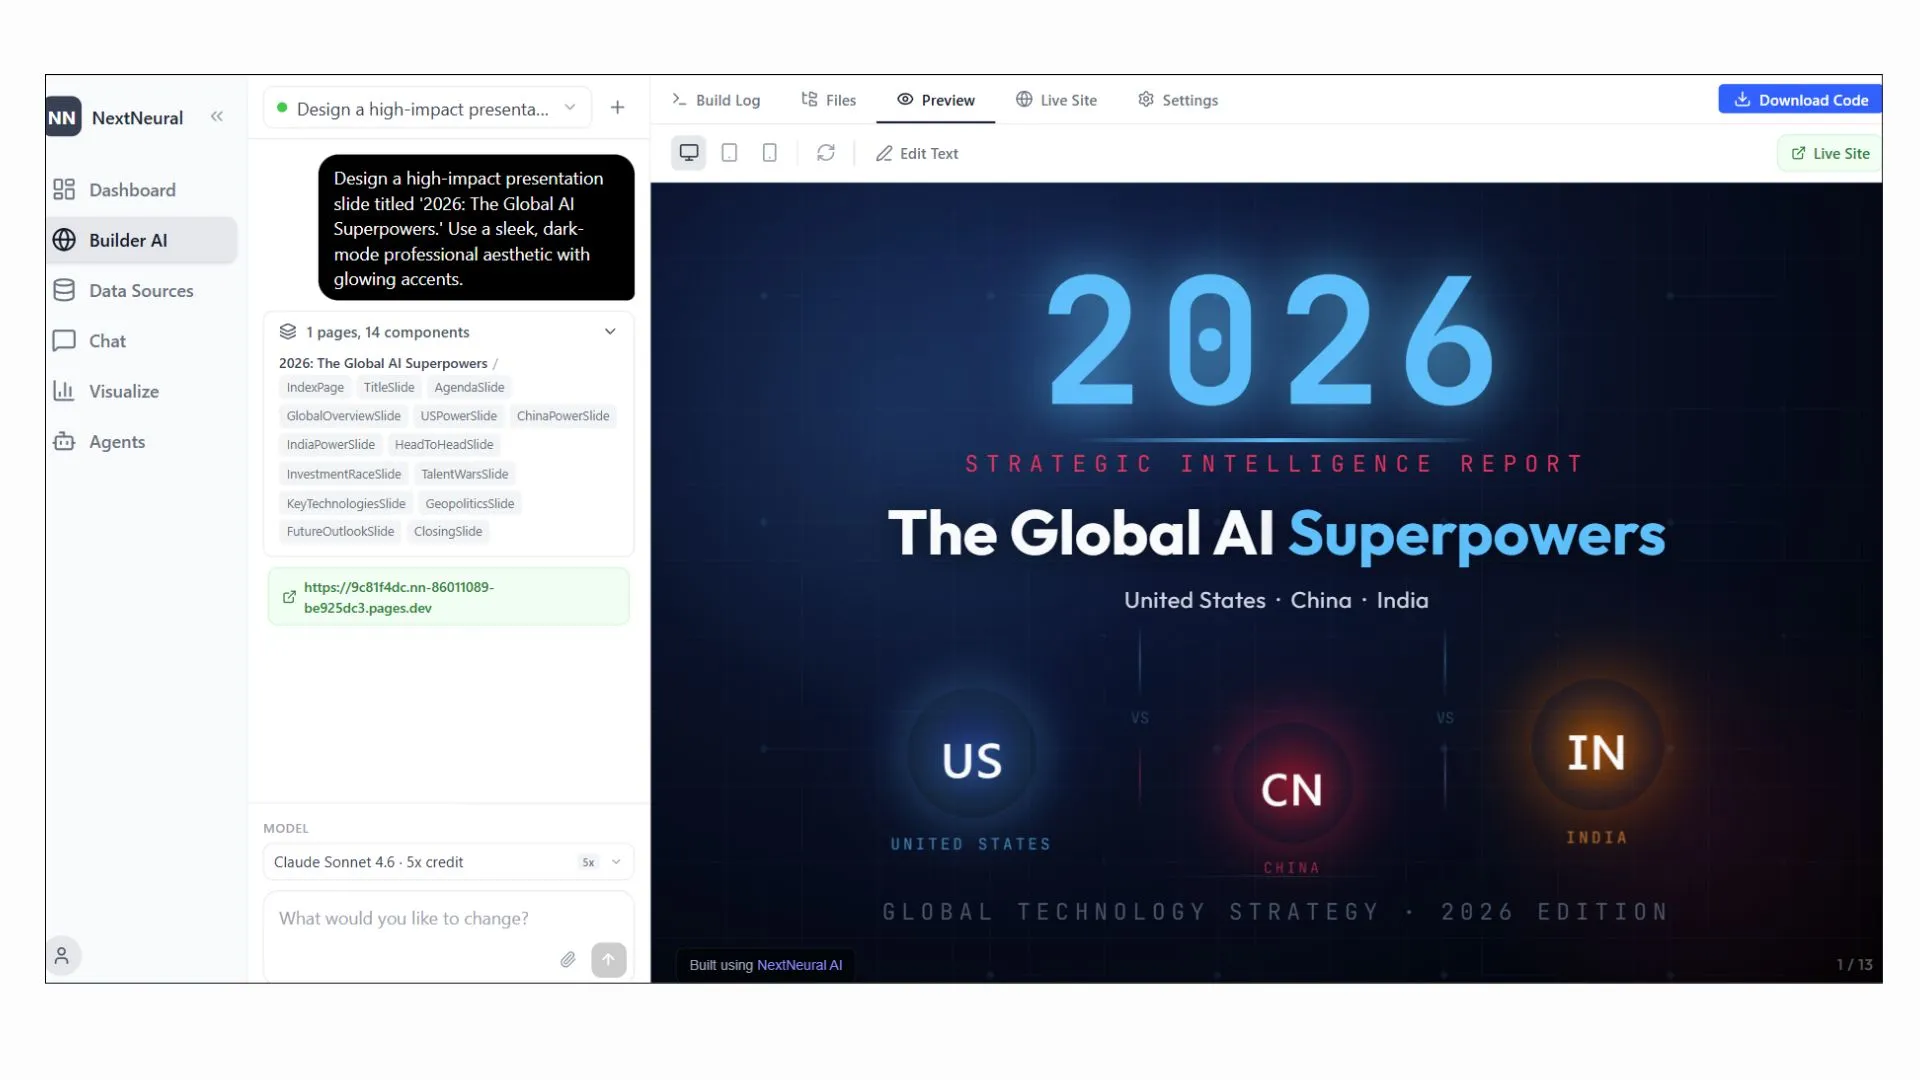
Your Deck Is Ready
Once the build is complete, you can preview your full deck directly in the interface, flip through every slide, edit text or swap visuals inline, and access a live URL to share it immediately.
The final deck in this example is a 13-slide strategic intelligence report titled “2026: The Global AI Superpowers” — dark-mode, professionally designed, with glowing accents, country comparison visuals, and structured narrative flow. Built entirely from a source document. No manual layout work. No design tool required.
What’s Coming Next
The NextNeural Builder AI slide feature is currently in beta. Over the coming months, expect it to go significantly further — pulling insights from multiple internal sources simultaneously (documents, dashboards, live data) and producing localised versions for global audiences in seconds.
Get started on NextNeural today. New accounts receive 2,000 free credits, enough to upload your first document, build your first deck, and see what five minutes of effort can actually produce.
Sign up at nextneural.ai or reach out if you want NextNeural deployed for your organisation or team.
Ready to Transform Your Business with AI?
Join NextNeural today and deploy production-ready AI agents in minutes.
Build an Agent